When we purchased this home we knew it was a true fixer-upper PLUS too small for our needs. Because the lot is so ginormous, we knew from the beginning that we wanted to add an addition (and there was only ONE BATHROOM). Can a marriage survive sharing a bathroom?? Ours can’t. Truly.
But while we were waiting to get our ducks in a row and get the addition party started, we needed that ONE bathroom to be usable. And not gross.

Being a rental for 30 years does an old bathroom no favors. We had a few weeks between closing on the house and moving in so that bathroom was my focus. Check out what I did…
Things to love:
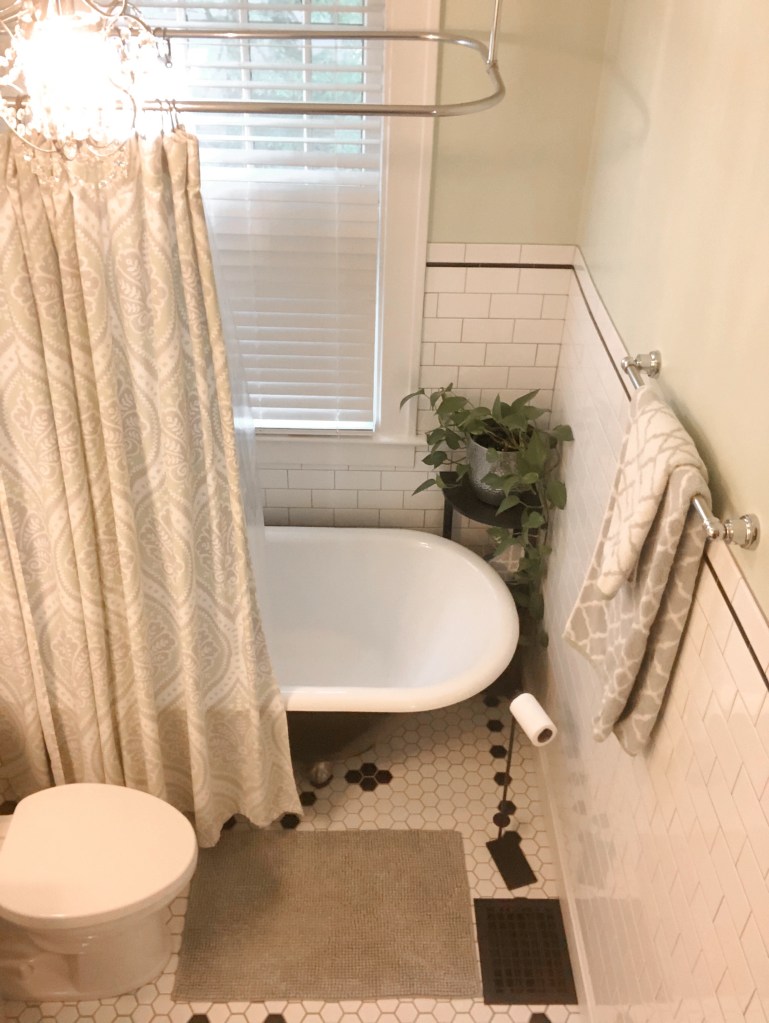
1. The original clawfoot tub.
2. The high ceilings
3. The original medicine cabinet
THE. END.
The goal is to make this look like what it is…a 1920’s bathroom. I am restoring everything that is original, and choosing any new finishes based on what may have existed at the time.
Step One: Demolition
What had to go first? Those horrible stick on floor tiles. I started by the door and pried them up one by one. I tried keeping my utility gloves on (I’m easily grossed out by how dirty the house was), but the tile adhesive kept sticking to the gloves. Then my shoes were sticking to the floor where the tiles had been removed. Finally I came to a seam in the plywood underneath and realized I was doing it all wrong. Solution? Rip up the wood underneath WITH the tiles attached.


There were some touch and go moments when we couldn’t get the tub out of the bathroom door (we still had one pesky foot that wouldn’t come off), but we made it. And now that our bathroom was basically in the living room, I could really get to work.

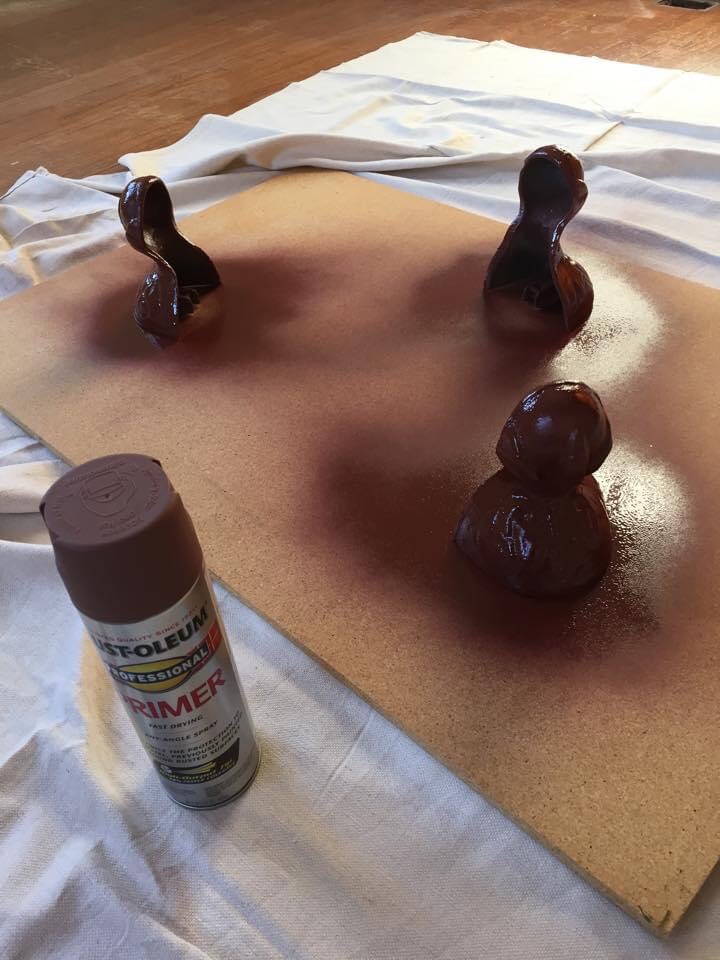
Step Two: The Bathtub
I used a rust remover to prep it for paint. It’s just my luck that whoever painted the tub the first time only did the side that was visible and not the “back.” The rust remover worked great, and my beautiful tub dreams are one step closer.

I had professionals do the interior of the tub, but figured I could DIY the outside. My inspiration is below.

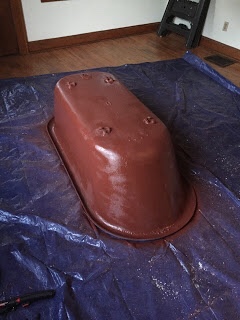
I used Rustoleum Metallic spray paint in silver for the feet and Rustoleum Epoxy Appliance Paint in Gloss Black for the tub. (Did the brown scare you? Just primer, folks! Just primer.)


Step Three: Electric/Lighting
I hired an electrician to update the wiring in the bathroom. I know my DIY limitations. This house is still mostly all knob and tube wiring, which means changing anything (light fixture, light switch or outlet) is pricey. We started with only the crucial items and planned to do a complete overhaul with the addition.
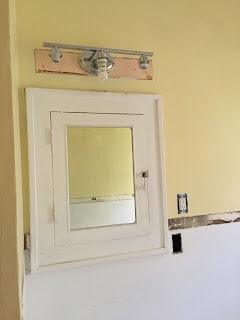

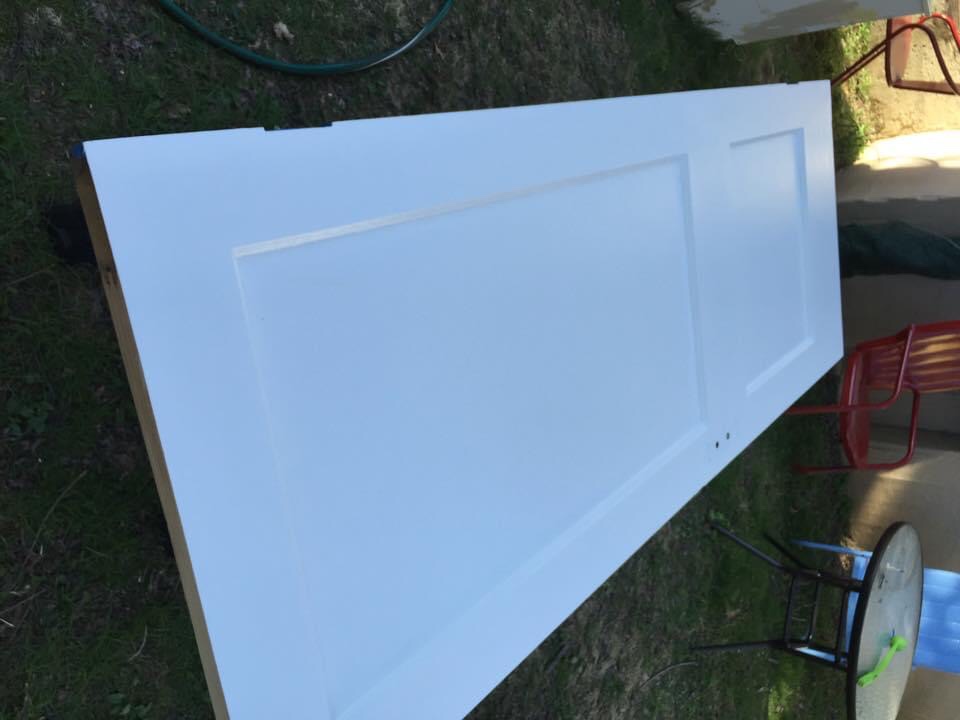
Step Four: Doors and Hardware
The hardware was all covered in LAYERS of paint. I used an old slow cooker to remove it, and cleaned it up. Some of the hardware is brass and some of it is different metals. How do I know? Hold a magnet up the hardware. If it sticks, it’s not brass.


The brass cleans up pretty nicely with some Brasso. Below you can see what they look like straight out of the cooker vs. polished with Brasso.

The inside of the door was already painted, so I just sanded it a bit and did a few fresh coats. There’s also a built-in storage cabinet and the doors there needed attention as well.

Step Five: Plumbing
I had a plumber come in (again, I know my limits) and he removed almost all of the pipes from the floor to make tile installation easier. He also moved the copper water lines for the sink from the floor into the wall (I had a hand in removing the wall in that section myself…fun job). Because I chose a console-style sink, I didn’t want the plumbing coming out from the floor. Hopefully now all of the sink workings will be less visible.

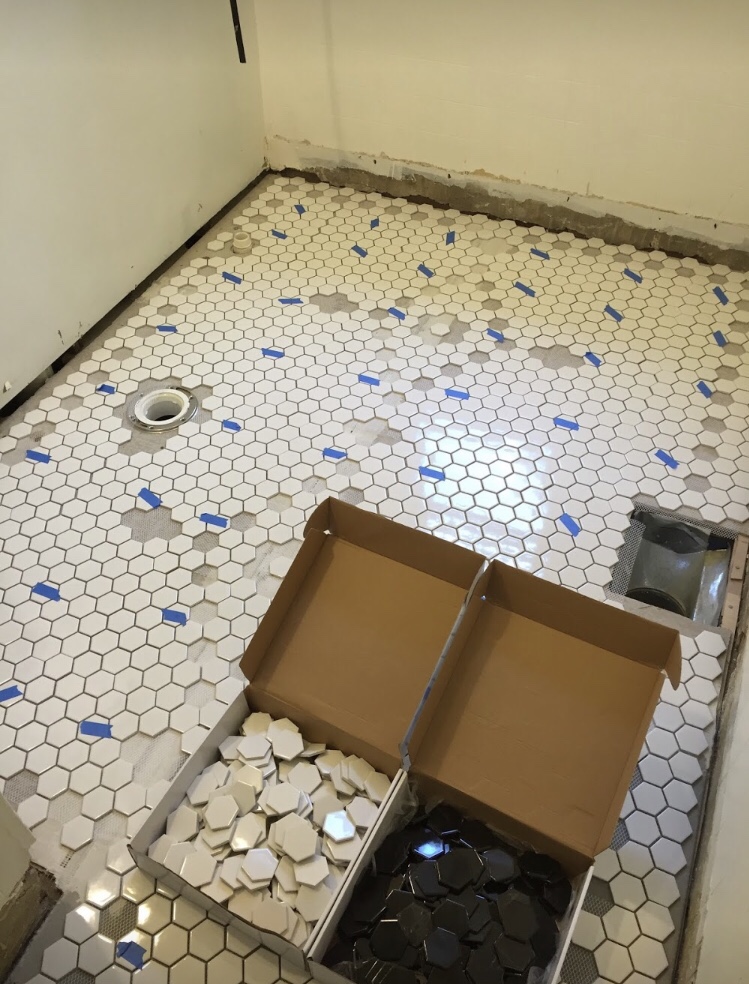
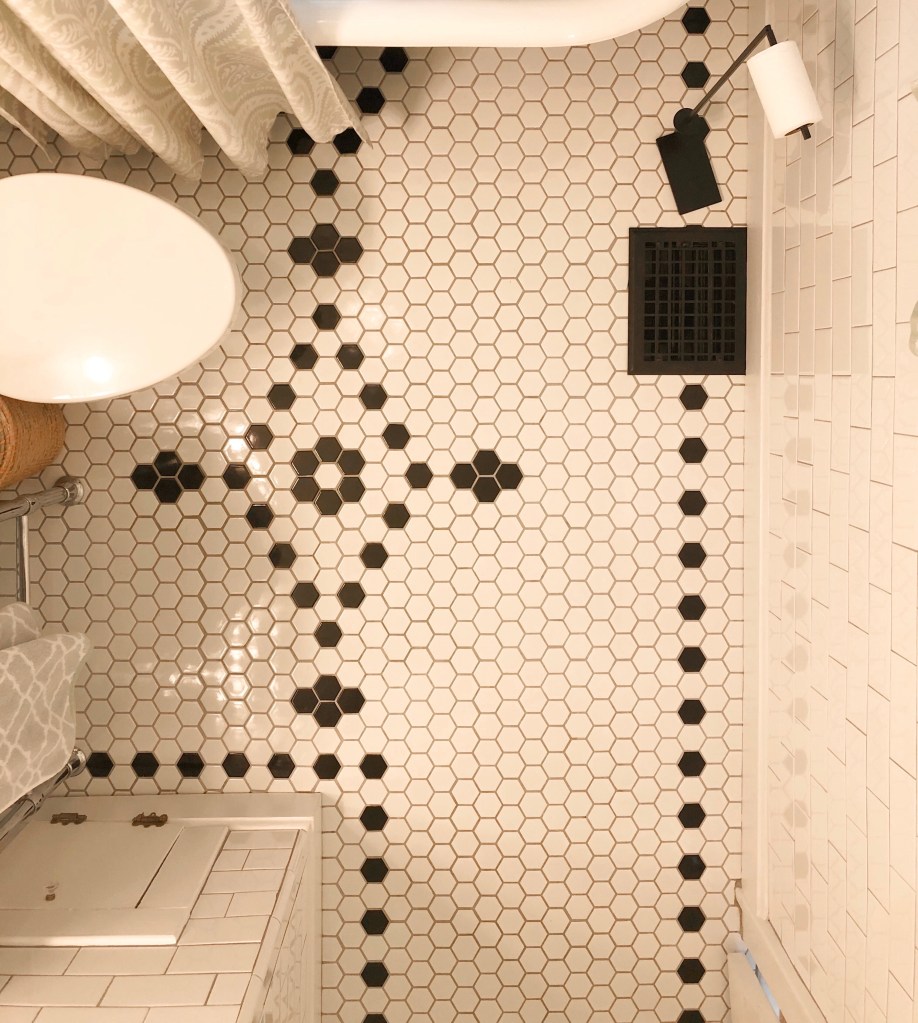
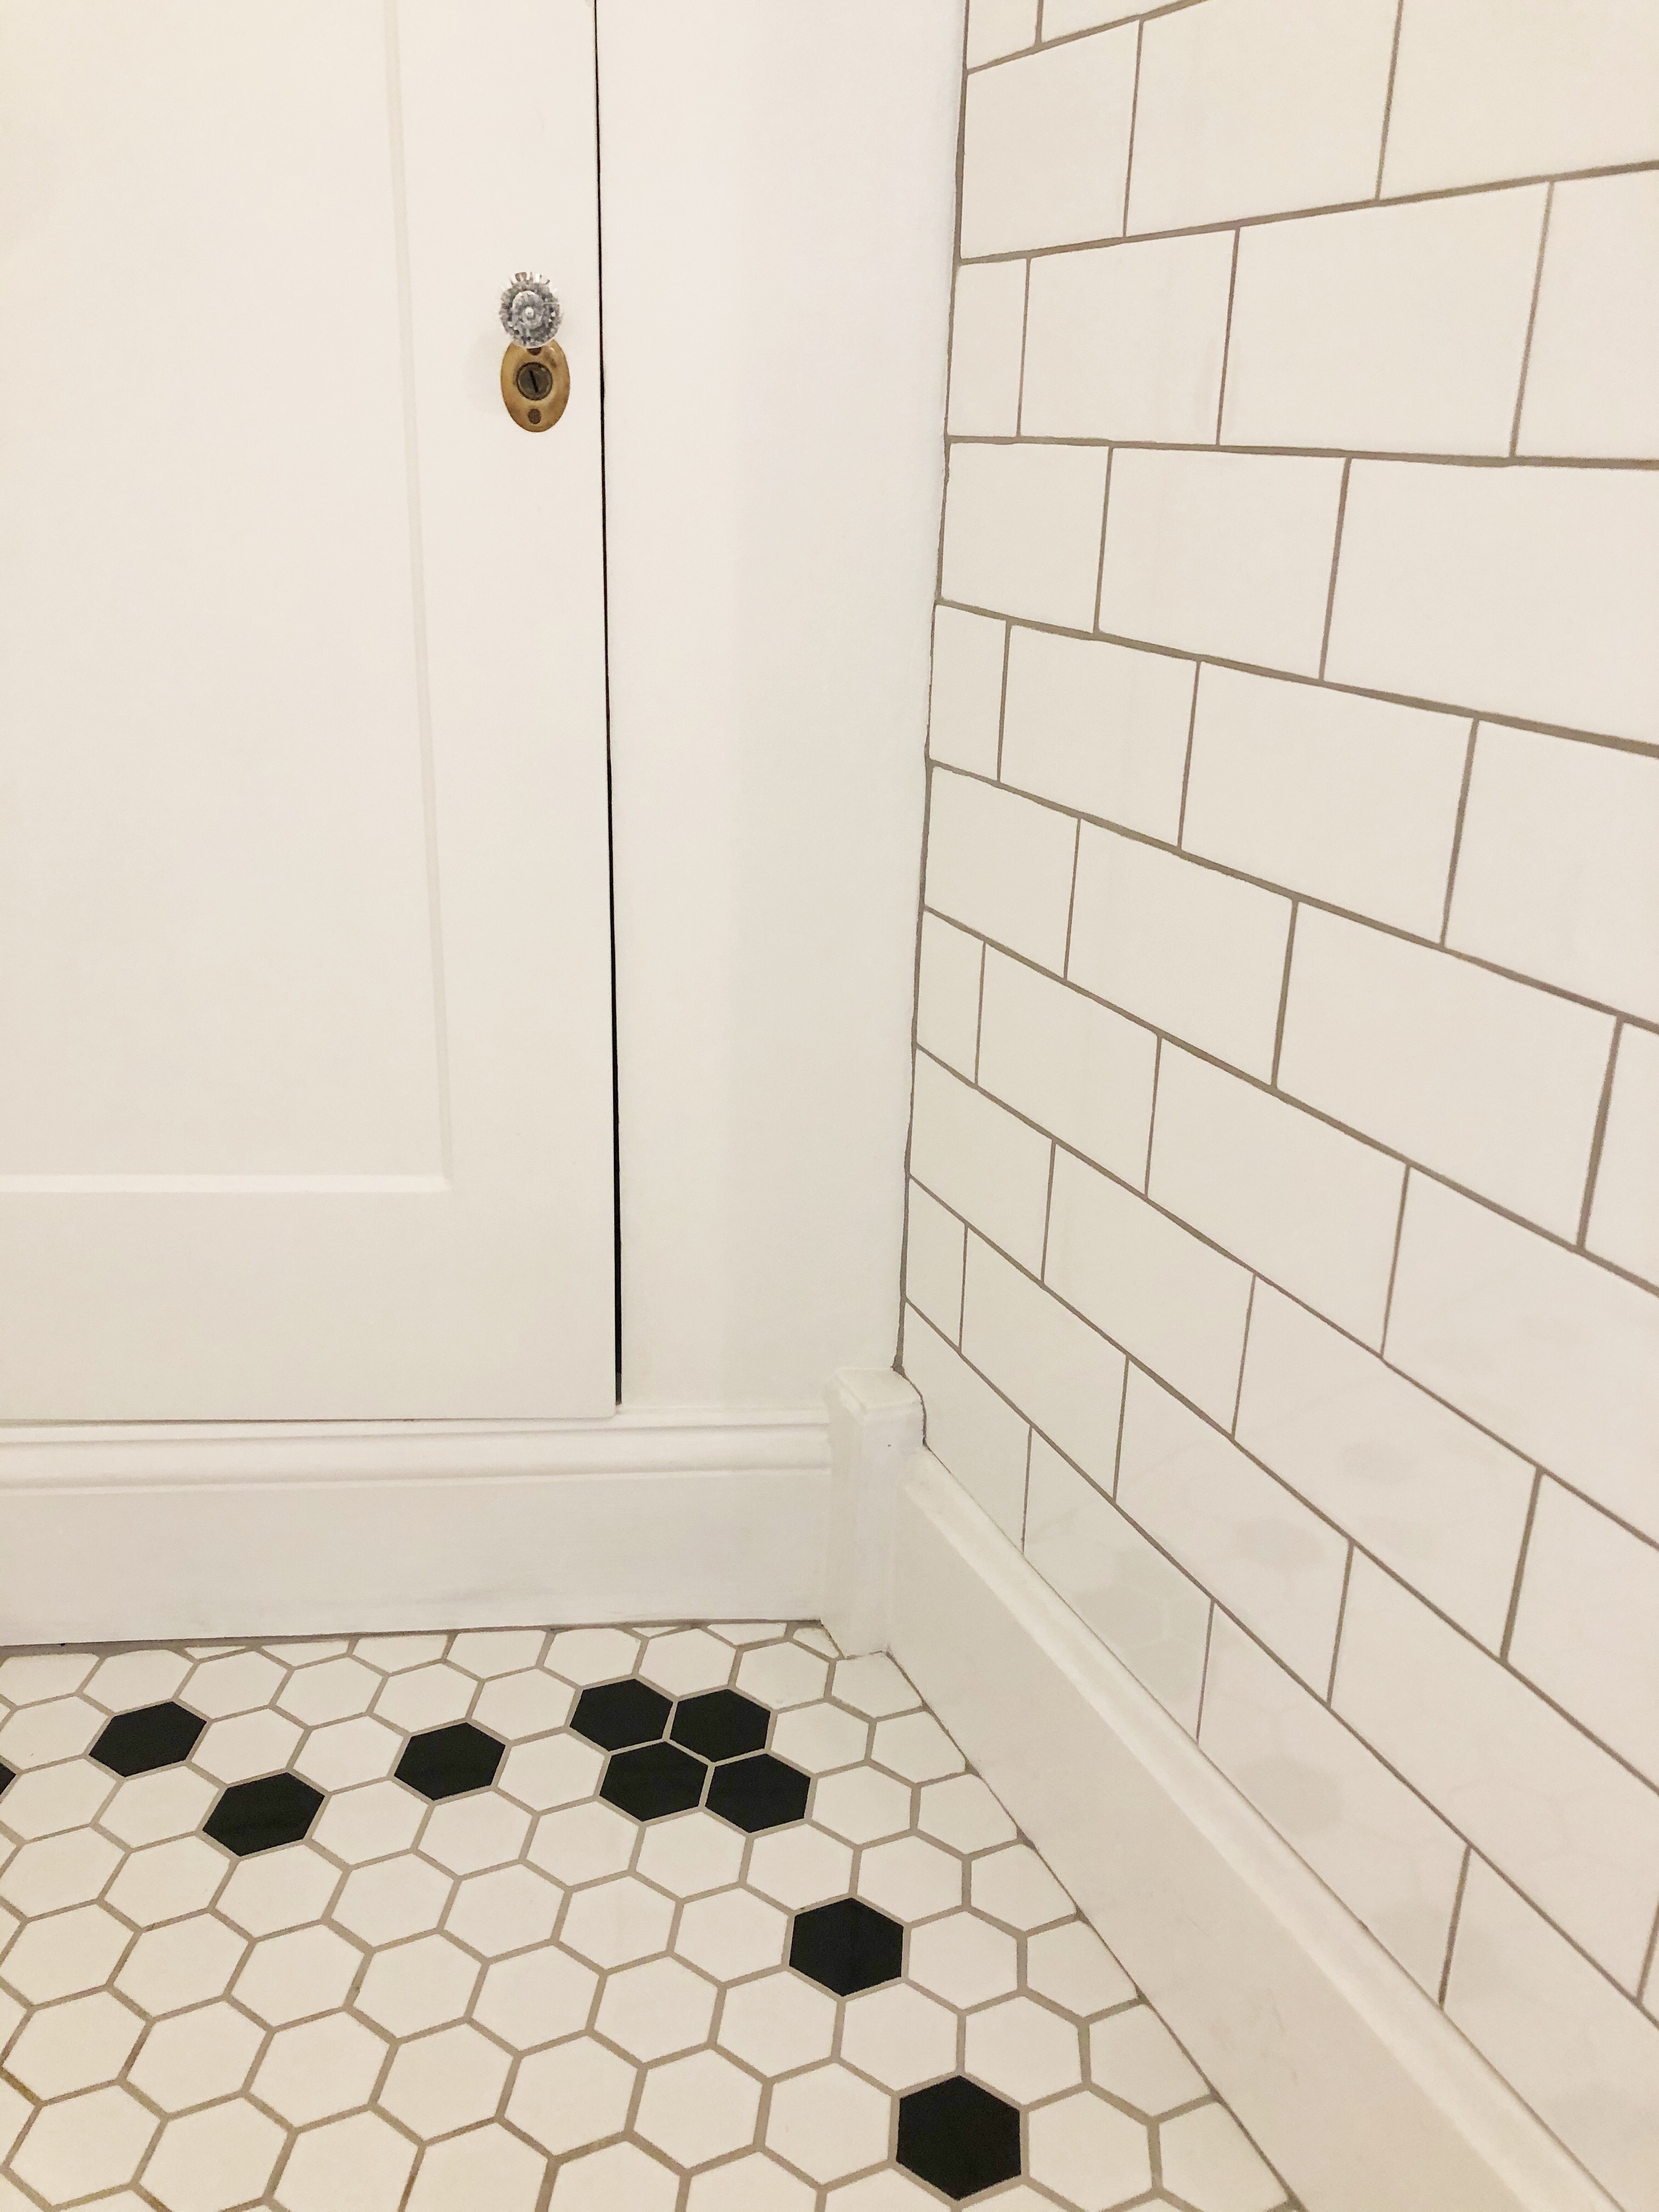
Step Six: Flooring and Wall Tile
I purchased beautiful glossy white subway tiles for the walls on a 70% off Black Friday deal, and black and white 2″ hex tiles for the floor. Again, the goal is to use materials that look like they may have actually been used in the original bathroom. I played around with patterns and came up with a design I liked for the floor and walls.


Step Seven: Putting it all back together
I scored a sink/faucet combo for $100 from our neighborhood buy, sell, trade page on Facebook. I had been lusting over these old style sinks with chrome legs, but they were close to $1,000. (Yes, that much.) I couldn’t believe my luck to score a good quality used one for such a great price. Here’s a link to the sink we have, just be aware this is the sink only and the stand/legs are an additional $799.

There was a lot more that went into this remodel, but it’s exhausting just remembering it all. I’ll let the photos speak for themselves, but if you have any questions don’t hesitate to ask! I’ll post links for products below where I can.


Additional Links:
Paint color: Sherwin Williams Cucumber Water
Towels and Shower Curtain: Cynthia Rowley from TJ Maxx
Tub filler: Kingston Brass Clawfoot Tub Filler
Light Fixture: Veronica Silver Crystal Chandelier

Wow!! Some difference! You did a beautiful job.
LikeLiked by 1 person
I suffered through lots of physical pain for this bathroom, so I’m glad it turned out good. LOL
LikeLike
I cannot imagine the patience it must have taken to install that hex floor tile. I am very impressed.
LikeLiked by 1 person
Thank you Anita! I actually had fun playing around with the tiles and trying to come up with a pattern, but it was a little tedious actually implementing the design and getting everything spaced correctly. It’s my favorite part of the bathroom now though!
LikeLike
We are just in the beginning stages of having old plumbing removed from our house and will need 2 bathrooms completed gutted and rebuilt. You give me inspiration to “TRY” some things on my own to save $$$. Thank you! You did a beautiful job. I love everything you did!
LikeLiked by 1 person
Thank you so much! This was my first bathroom remodel and I learned as I went. You can do it!
LikeLike