This post required me to not only leave my house, but to leave my state. My sister had requested help with her powder room, and so I bought paint and accessories to do a (somewhat) surprise make-over in one day. With limited time and budget, I wasn’t able to do all of the things I would have liked to do, but we definitely improved the room.
My sister and her husband live in a beautiful old house in a historic part of Grand Rapids called Heritage Hill. It was built in 1875 and is around 4500 square feet.


If there’s a room where you can go a little bit bold, I think it’s a powder room. My sister had originally talked about wallpaper, but I was a little nervous about committing to that and thought a paint technique might give just the same effect without the semi-permanency (as someone who has had to remove wall paper before…I just couldn’t do it). Due to the age of the house I went with a traditional design and color scheme.
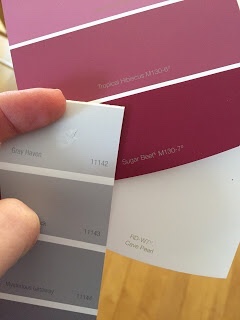
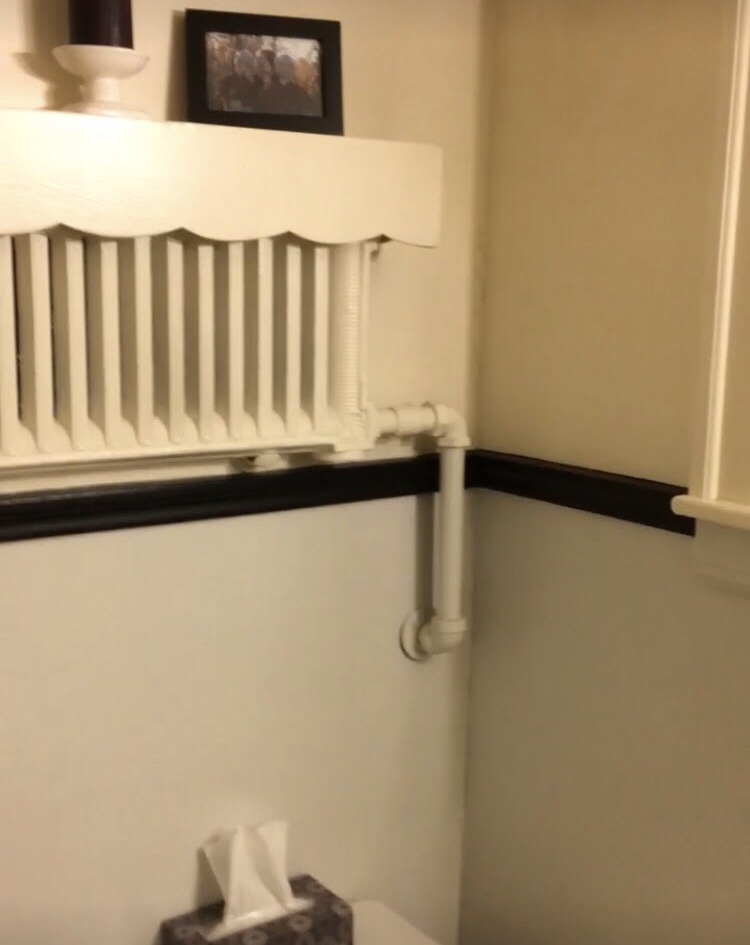
I chose Cave Pearl (a red-based white) on the upper parts of the wall and ceiling. Sugar Beet was used for the stenciling. At the last minute (the day before I left!) I had to pick a gray paint color for below the chair rail-height trim and chose Grey Haven. Because I only had one day to do the work, my dad had graciously offered to go and prep the walls. As you can imagine, in an old house like that there were LOTS of cracks and repairs to spackle.
Unfortunately, we didn’t discuss what NOT to do….and he didn’t realize I wasn’t planning on changing the paint color under the trim. Oops! So it added to my work load to have to paint the whole room, but it definitely needed it so I’m glad it got done.
One important lesson I learned was:
I. Will. Never. Stencil. Again.
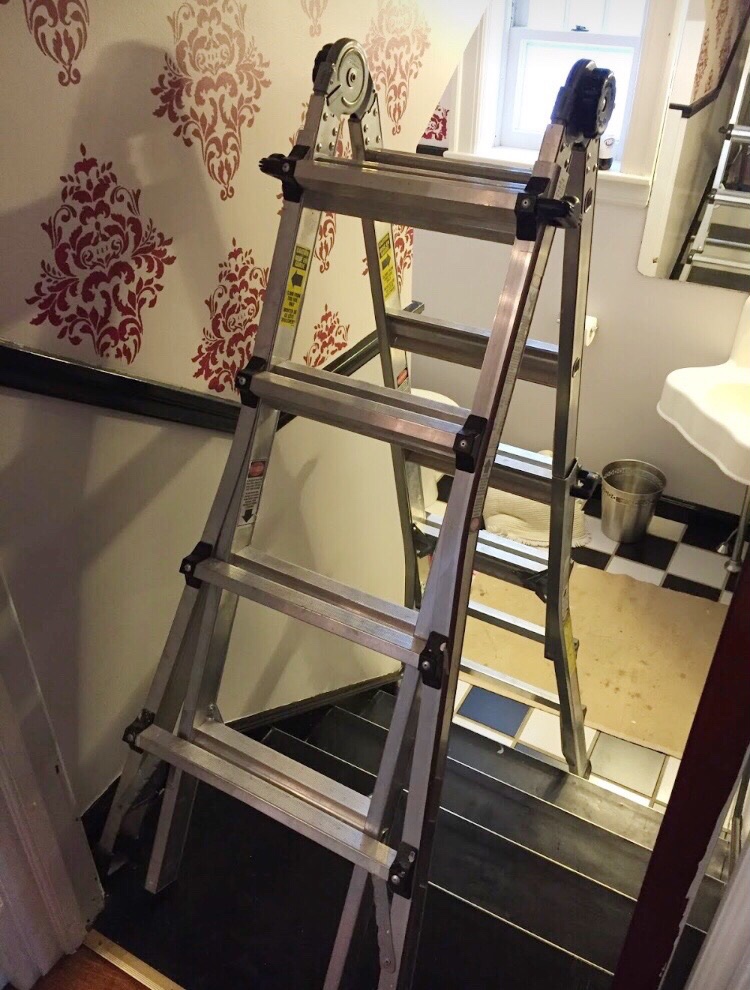
Yup. It was that bad. I was so worried about making a mistake, and since I had never done it before and needed to finish in one day, the pressure was high. In addition, there are steps down to the bathroom so I had to stencil while on a crazy ladder. On steps. Not my favorite thing in the world. I just had to go for it, and in hindsight, would have perhaps done some things differently. The end result is good, though, and I guess that’s all that matters.

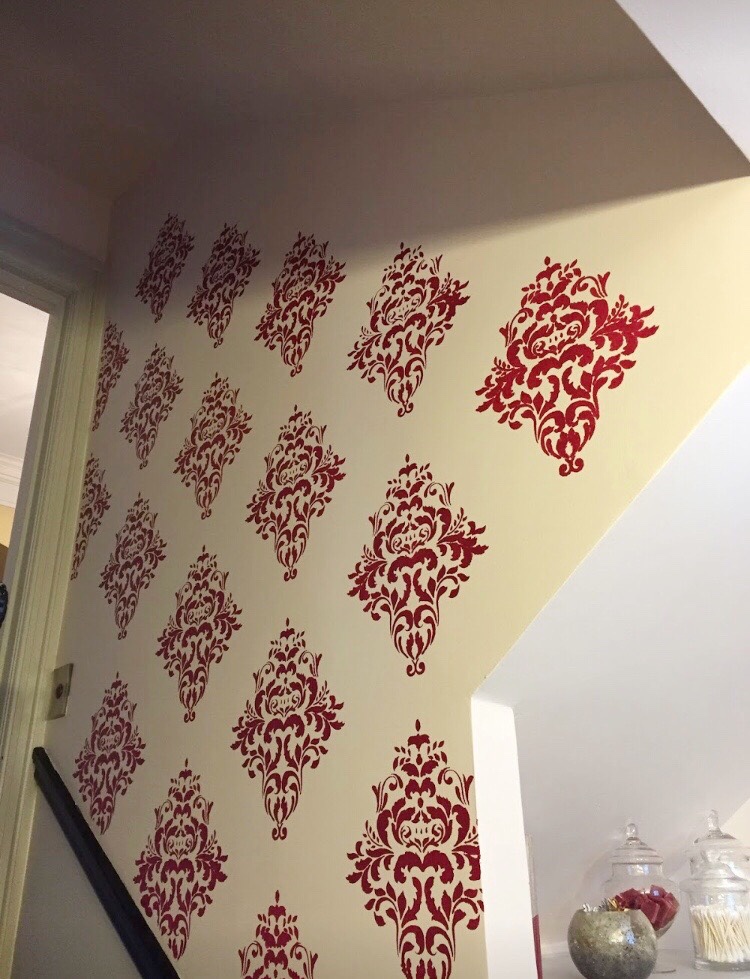
The trickiest part was doing the partial stencils on the edges. That was agonizing because if any paint got on the backside of the stencil you had to try and clean it or let it dry before moving on to the next one. And those partials got really messy.


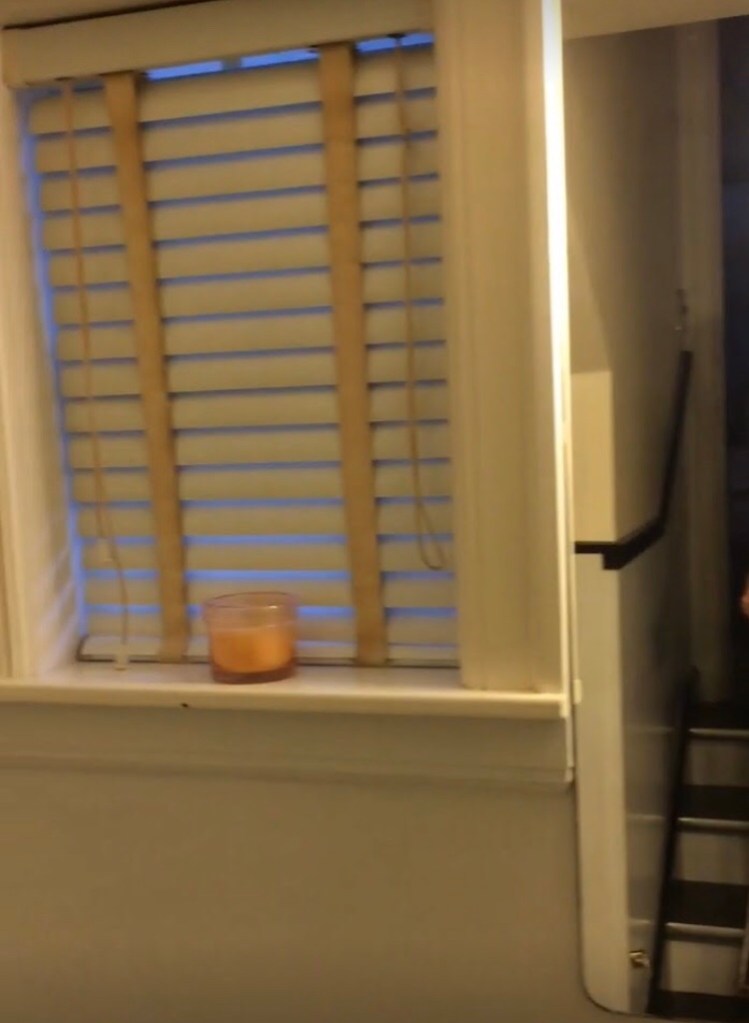
One disappointing thing was the window treatment. I made a custom Roman shade for the window out of nice ($40/yard) fabric. I was pretty proud of it too. Bad news….the measurements were off. Somehow we miscommunicated and she gave me measurements that included all of the window trim, instead of just the size of the window. This is what happens when you plan a room remodel from another state! Lesson learned.


For this one I kept close track of the expenses since it wasn’t my house. Some of these items were “gifts” to my sister from my mom and I, and the rest she paid for. Here’s a breakdown of the budget:
Paint: $53.39
Hardware: $31.68
Towels: $19.96
Accessories: $30.00
Stencil: $16.98
So the grand total is around $150 for the bathroom refresh. Do you think it was worth it?


The bathroom remodel looks fantastic. Love the stenciling.
LikeLiked by 1 person
Thank you! I wish I had a little bit more experience before tackling this project, but now at least I know that I hate stenciling. LOL
LikeLike