Happy Holidays, friends!
This year has certainly not gone as planned, for anyone, but as it draws to a close I hope you have blessings to look back on and things to be thankful for. I’m incredibly thankful for all of you — those that read my ramblings here, and those that cheer me on through social media.

For my final post of the year (crazy, right!) I wanted to keep it short and sweet. I’m going to share the other side of our “great room”….what’s attached to the kitchen that you didn’t see last week in the kitchen reveal. I don’t have any great DIY’s in there, and I really think it needs a lot of work in terms of furniture and design. A work in progress for sure. And I’ll end with a quick visual holiday home tour since ’tis the season!
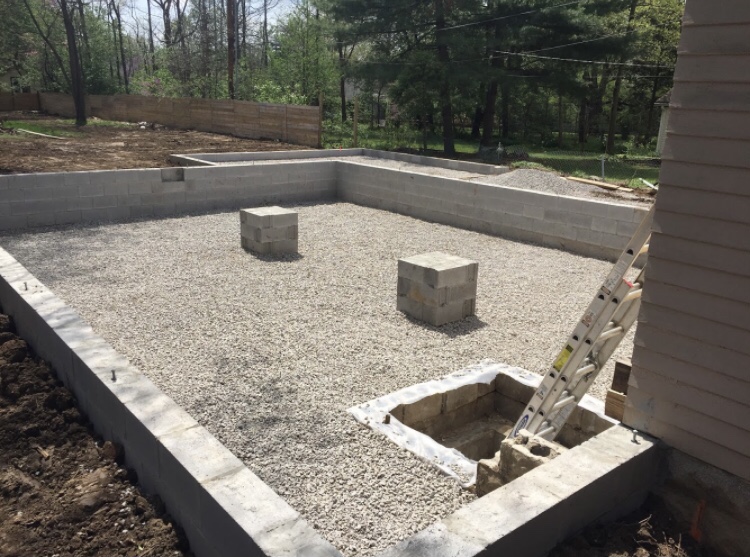


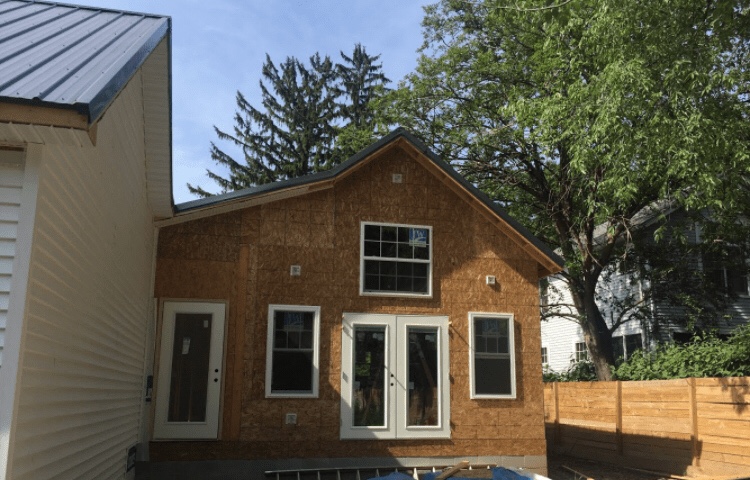
Last week I shared how we built the addition onto the back of the house. Details can be found here. You saw the rear porch get ripped off, the foundation be built and the framing go up. We definitely wanted vaulted ceilings in the family room, and even considered exposed beams. That ended up being more than we wanted to spend, so it got nixed along with a potential fireplace. Future projects…maybe?? We did want as many windows as we could have on the back of the house, and got double-open french doors to the deck.

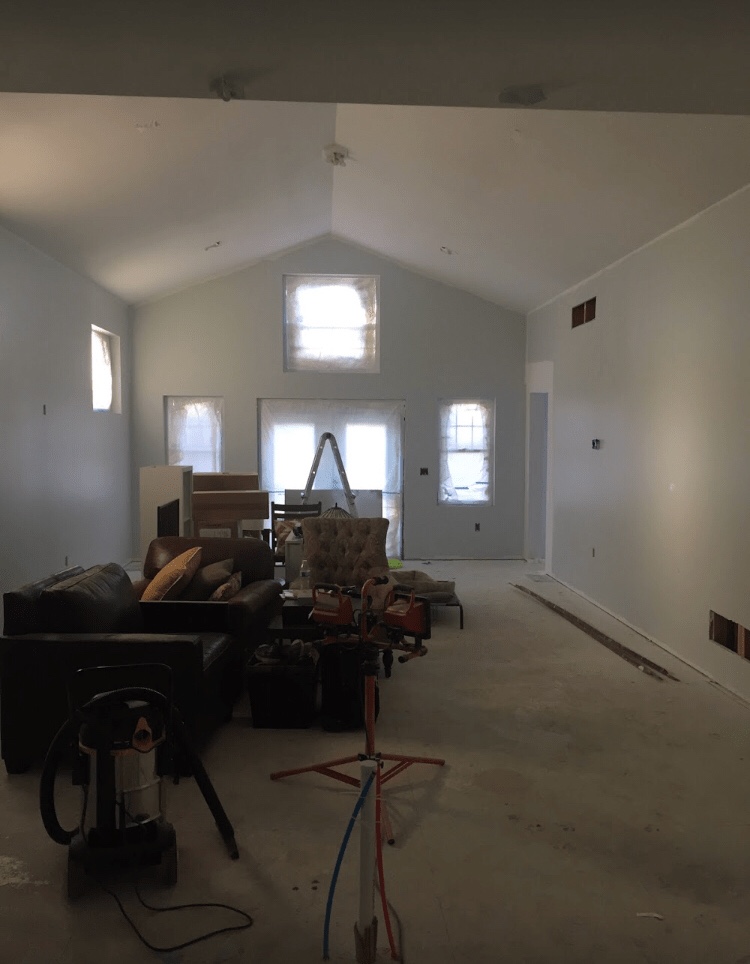
Our contractor completed the drywall and then we took over priming and painting the walls and installing the flooring and the trim (including door casings).


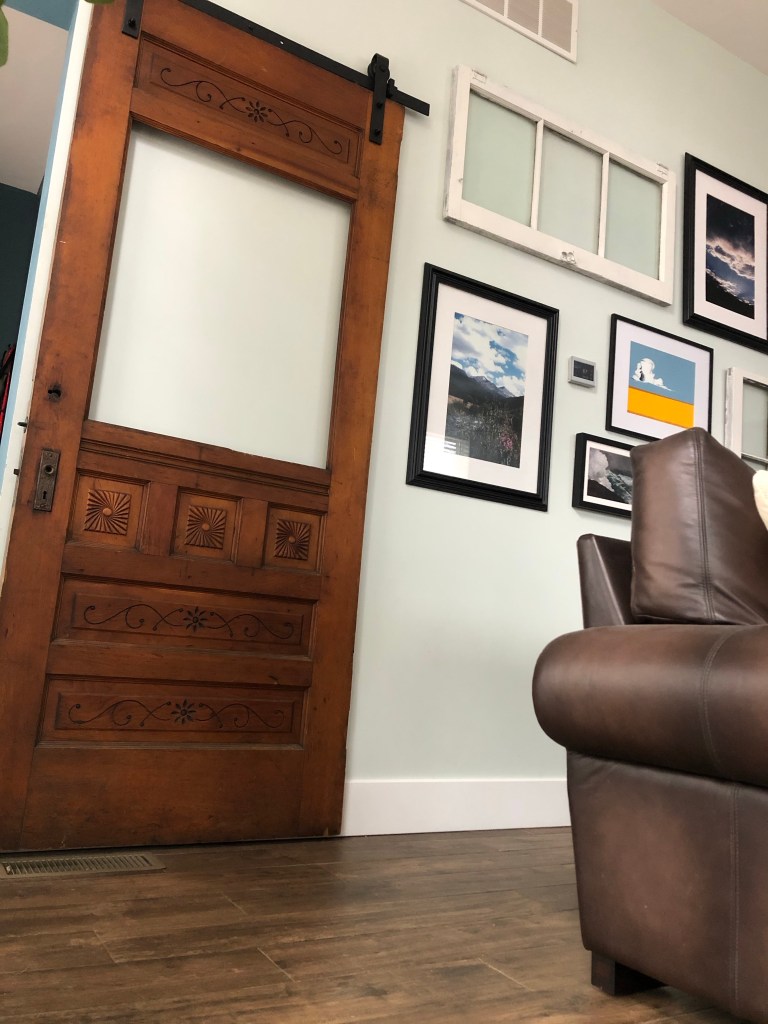
If you’ve been following me for any length of time you know that I love old things. This room was tough for me because everything was new, and there wasn’t any character. One place I could add it in was with the door to the laundry room. I found an absolutely gorgeous old door on Facebook marketplace that was the right size to become a sliding barn-style door. It adds a bit of character and something old to the room which I love.


This room has the same finishes as the kitchen — porcelain, wood-look tile, Juniper Breeze wall color and white trim. We opted not to do window casing (we’re tired, ya’ll), and instead did wood window ledges. My dad helped me create those out of leftover oak stair treads. I stained them Minwax Jacobean to mimic the color of the floors.

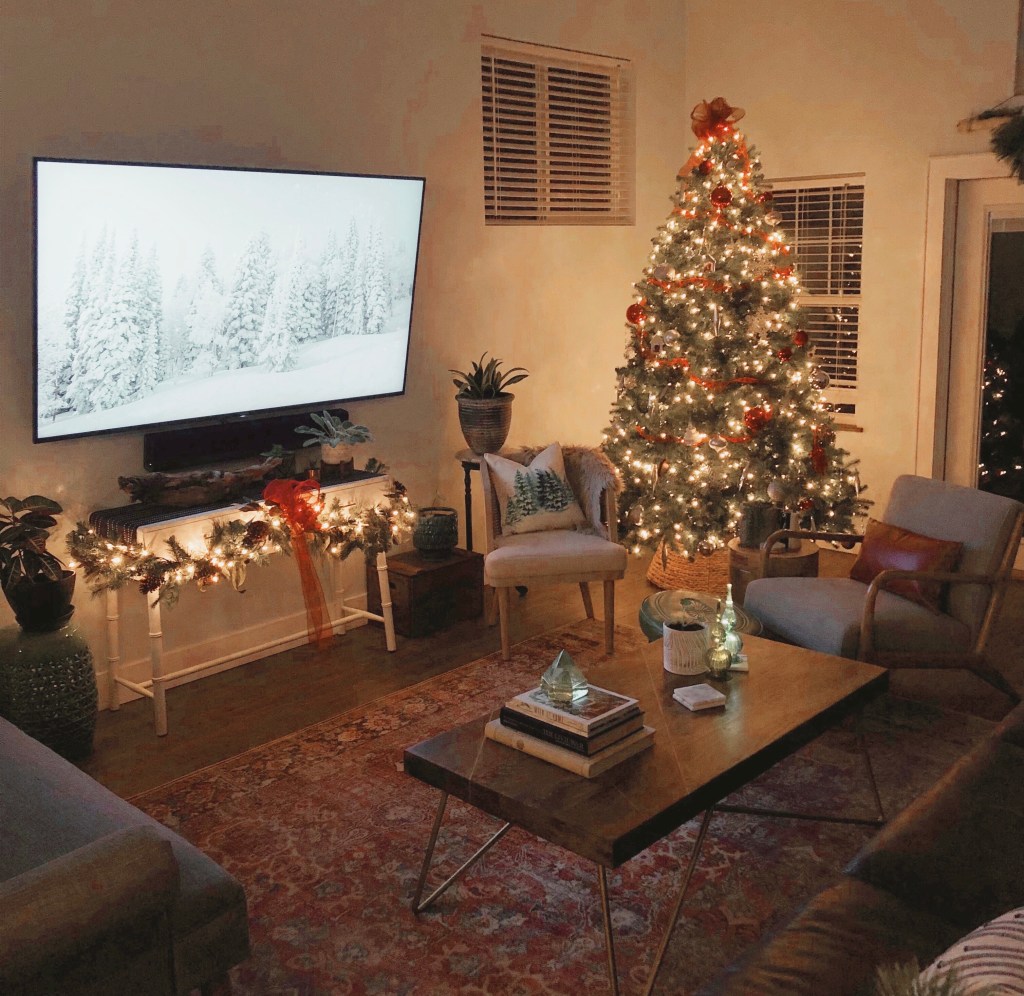
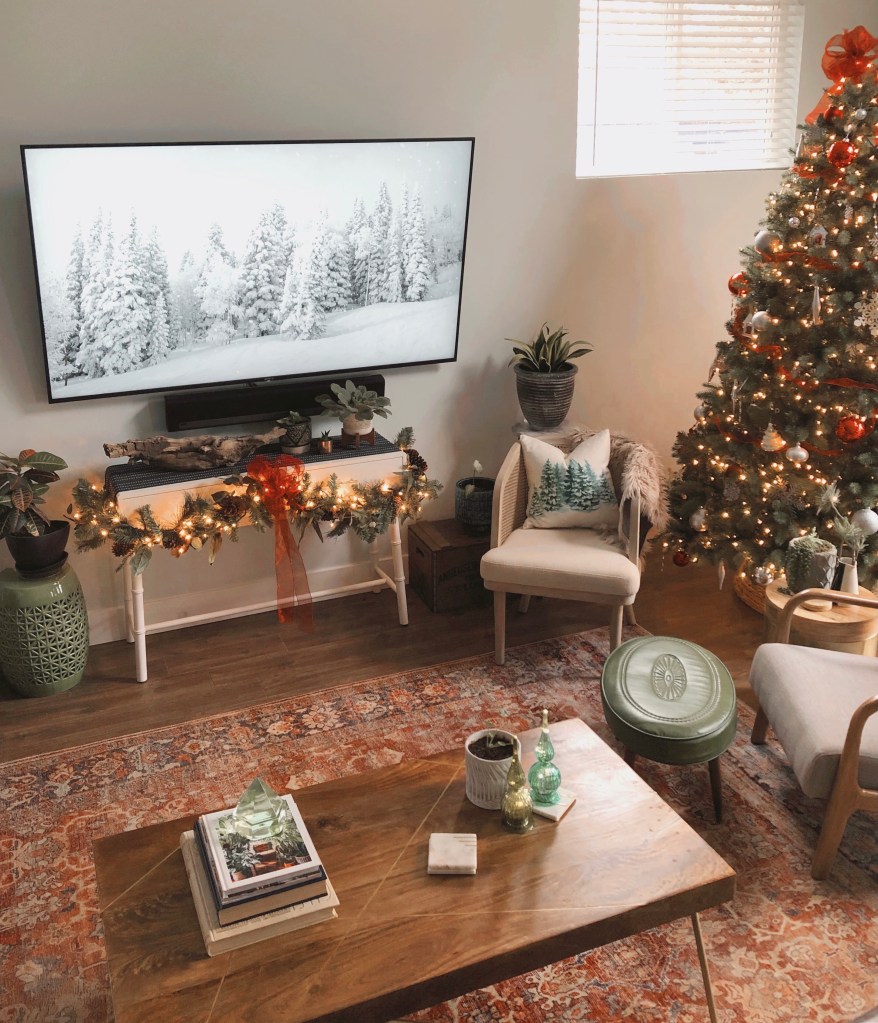
This room is where we spend the majority of our time, so comfort was key when furnishing it. The giant leather couch and humongous TV are things I had to work around when designing the space, and I certainly don’t feel like I’ve successfully navigated them yet. I don’t really know what to do with the wall space around that big, black box.

On the opposite wall, however, I knew I wanted a gallery wall. I ended up with a 12 foot long installation and it was kind of fun, and frustrating, to put together. It’s a collection of photos taken by my husband, art from a local artist (and friend) and old windows from the house. If you’re interested in original, beautiful art check out Maltry Creative.


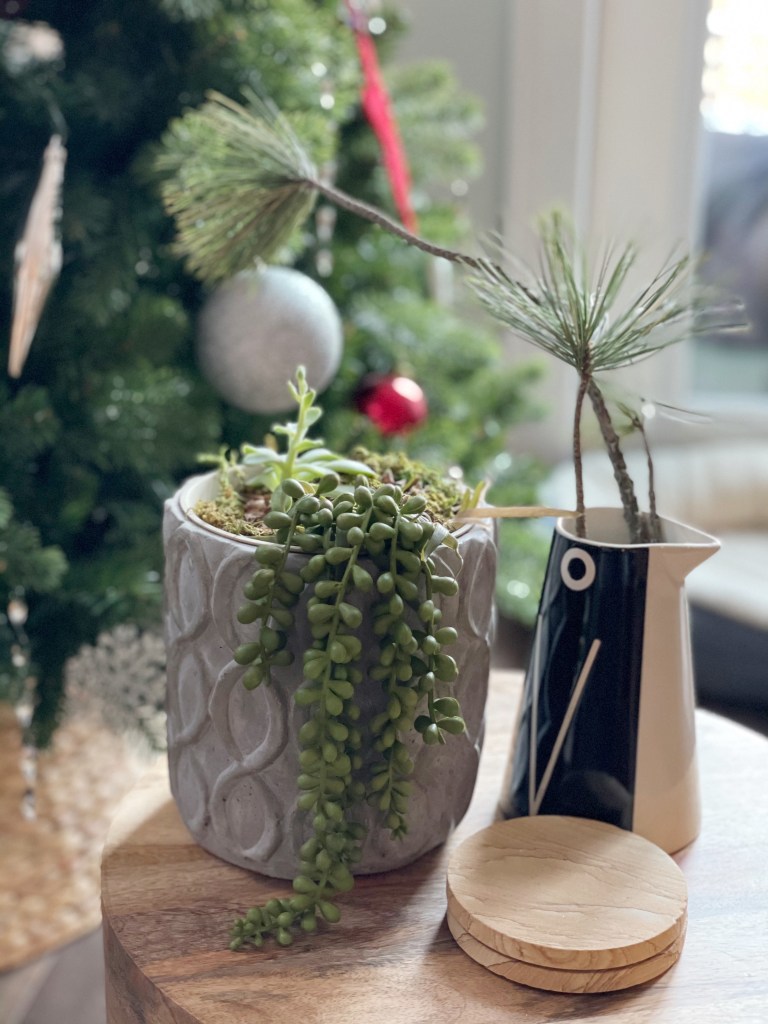
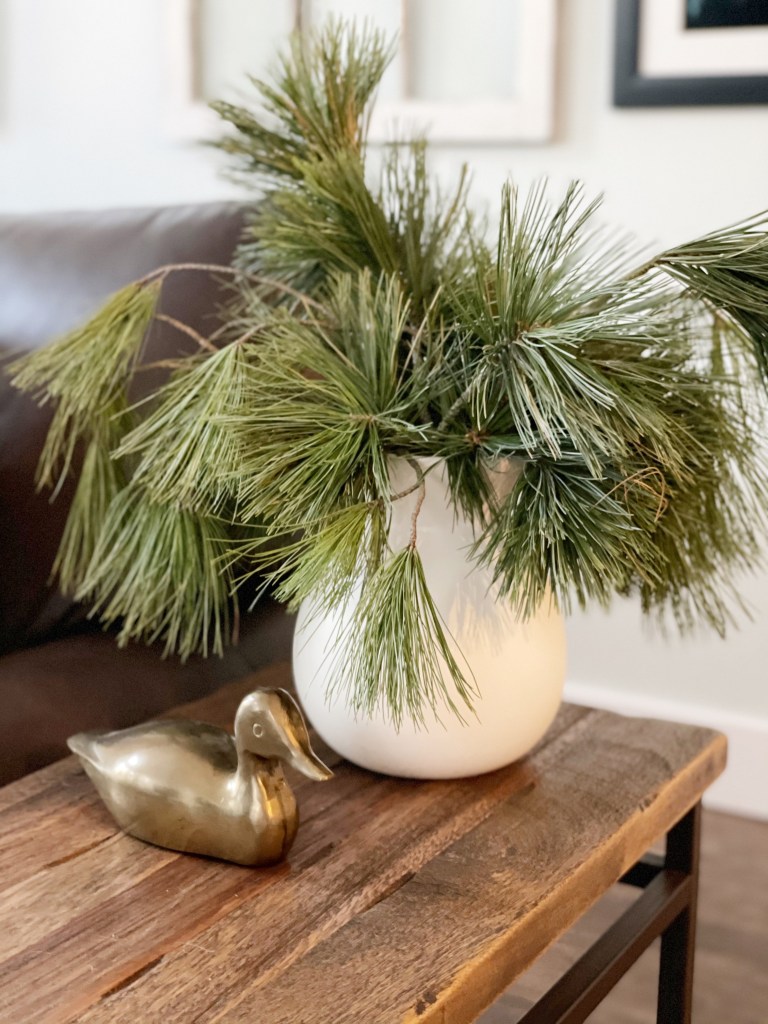
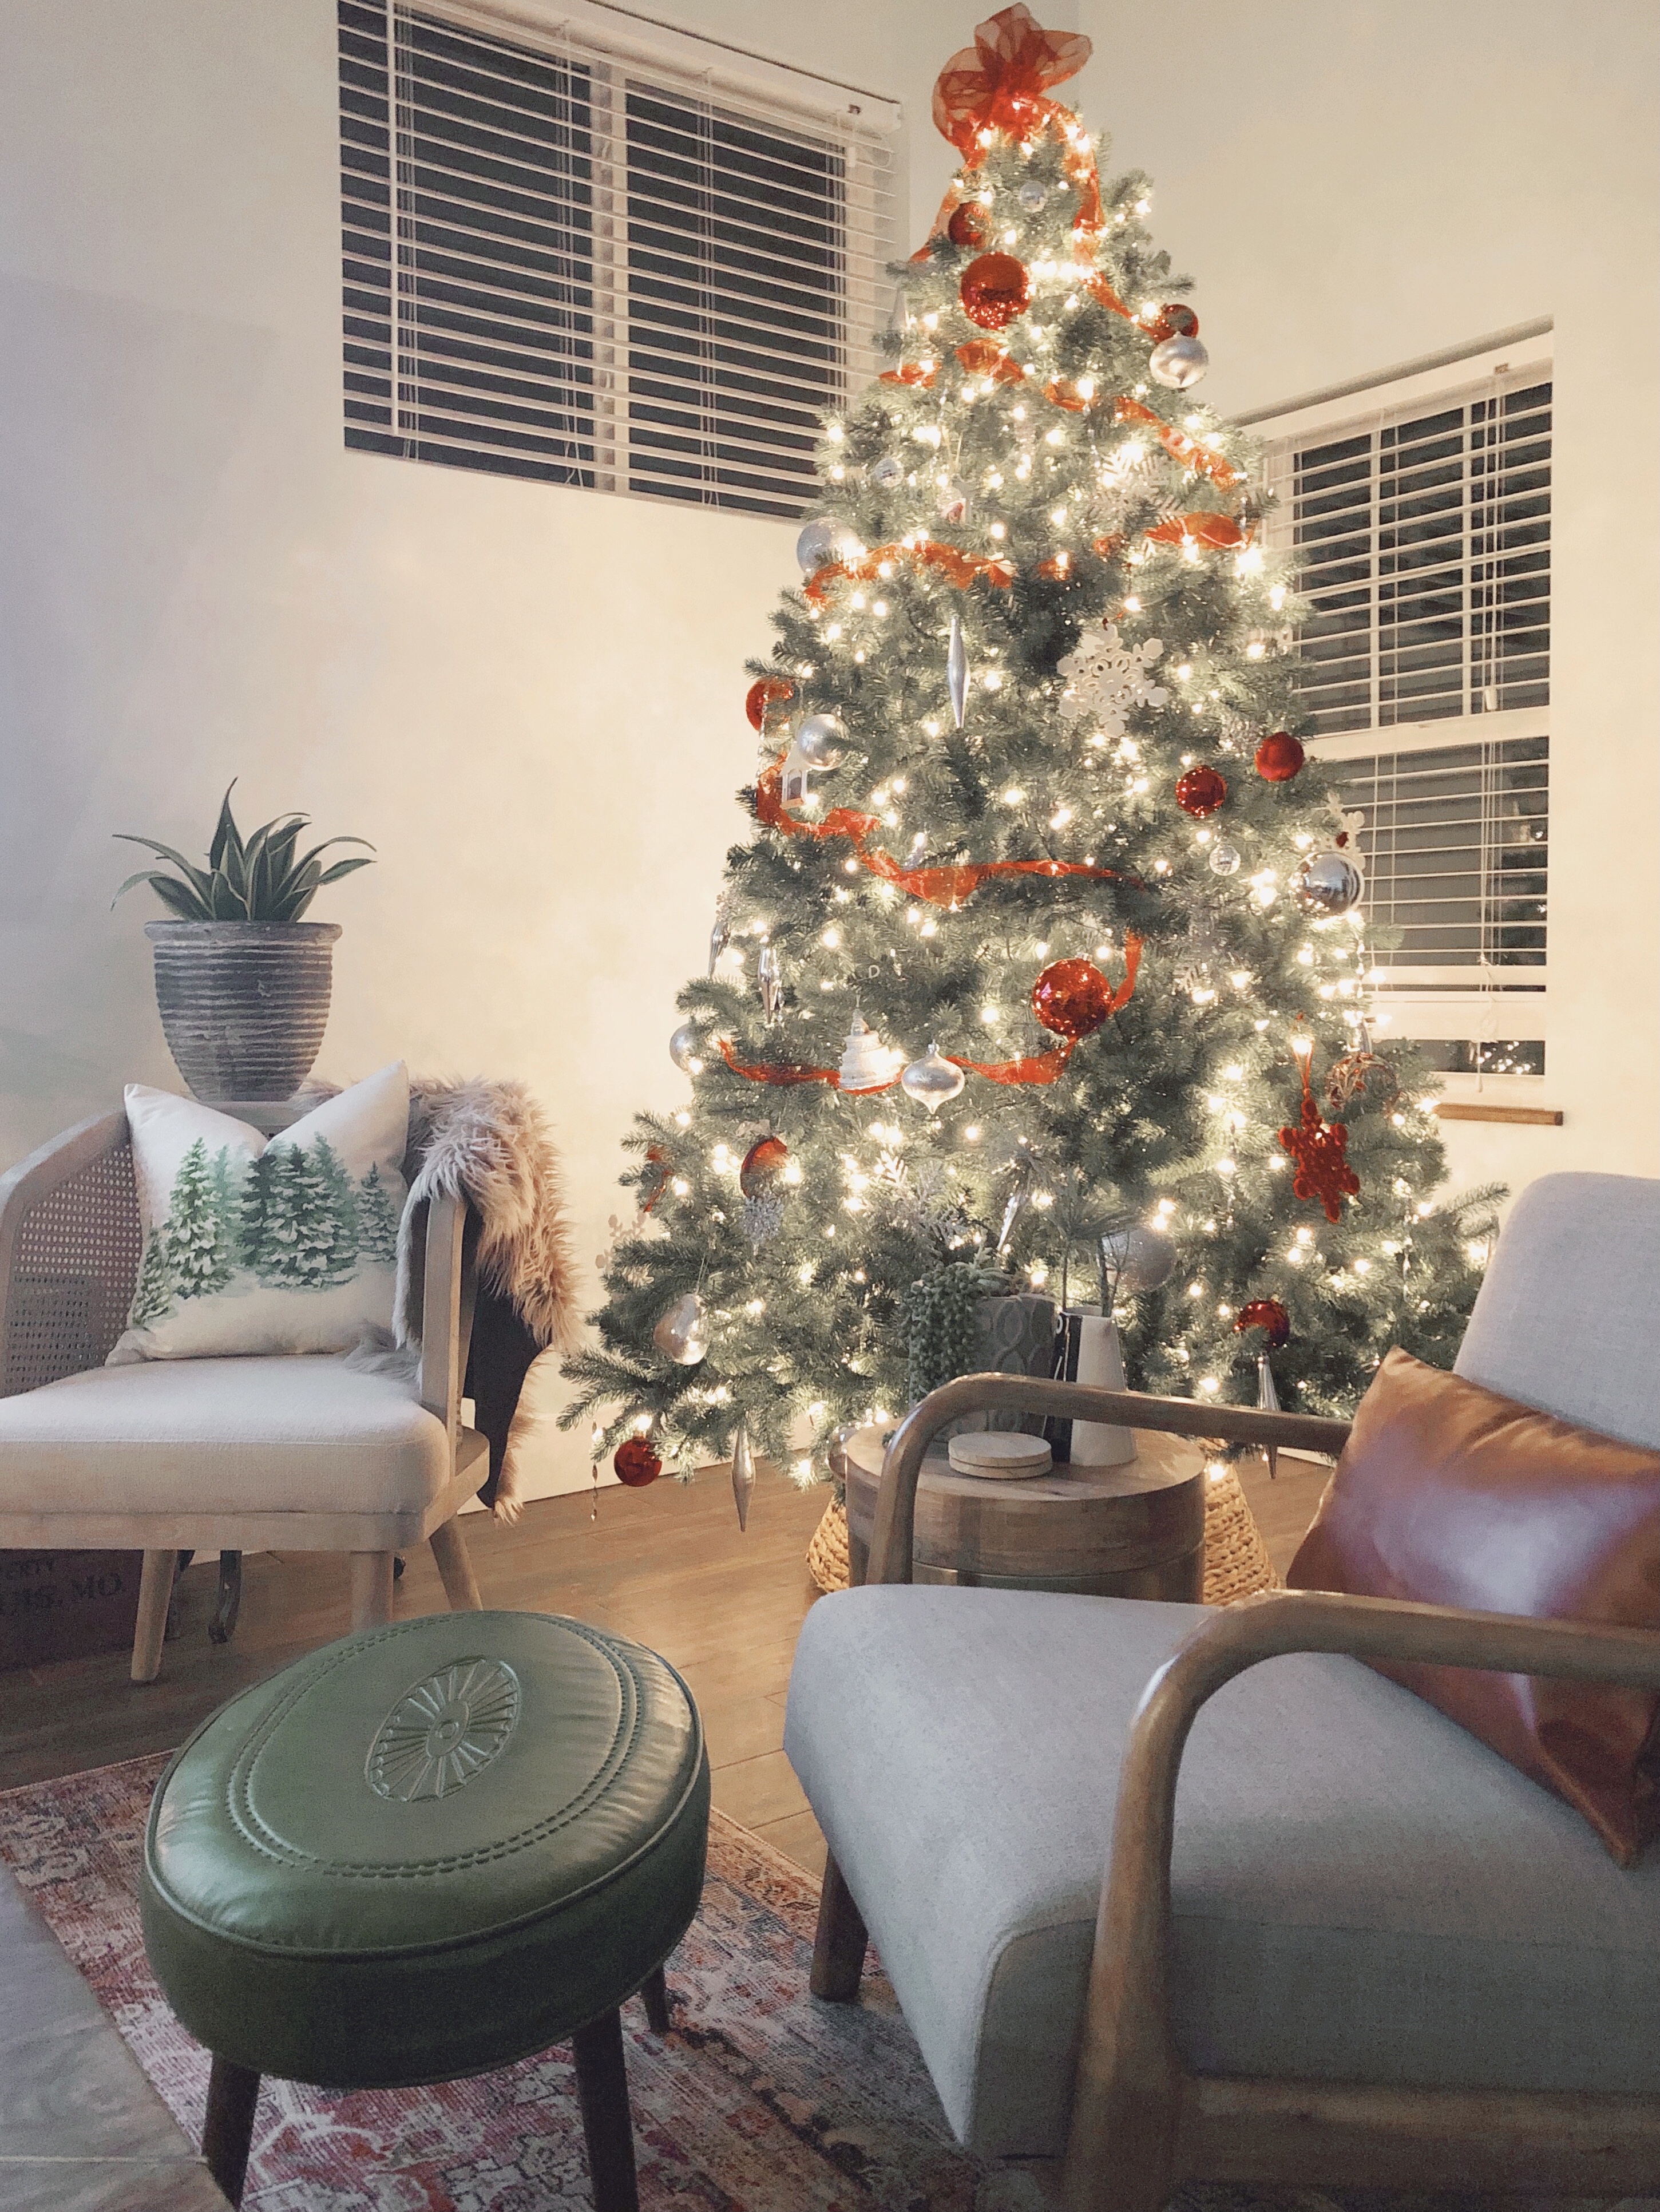
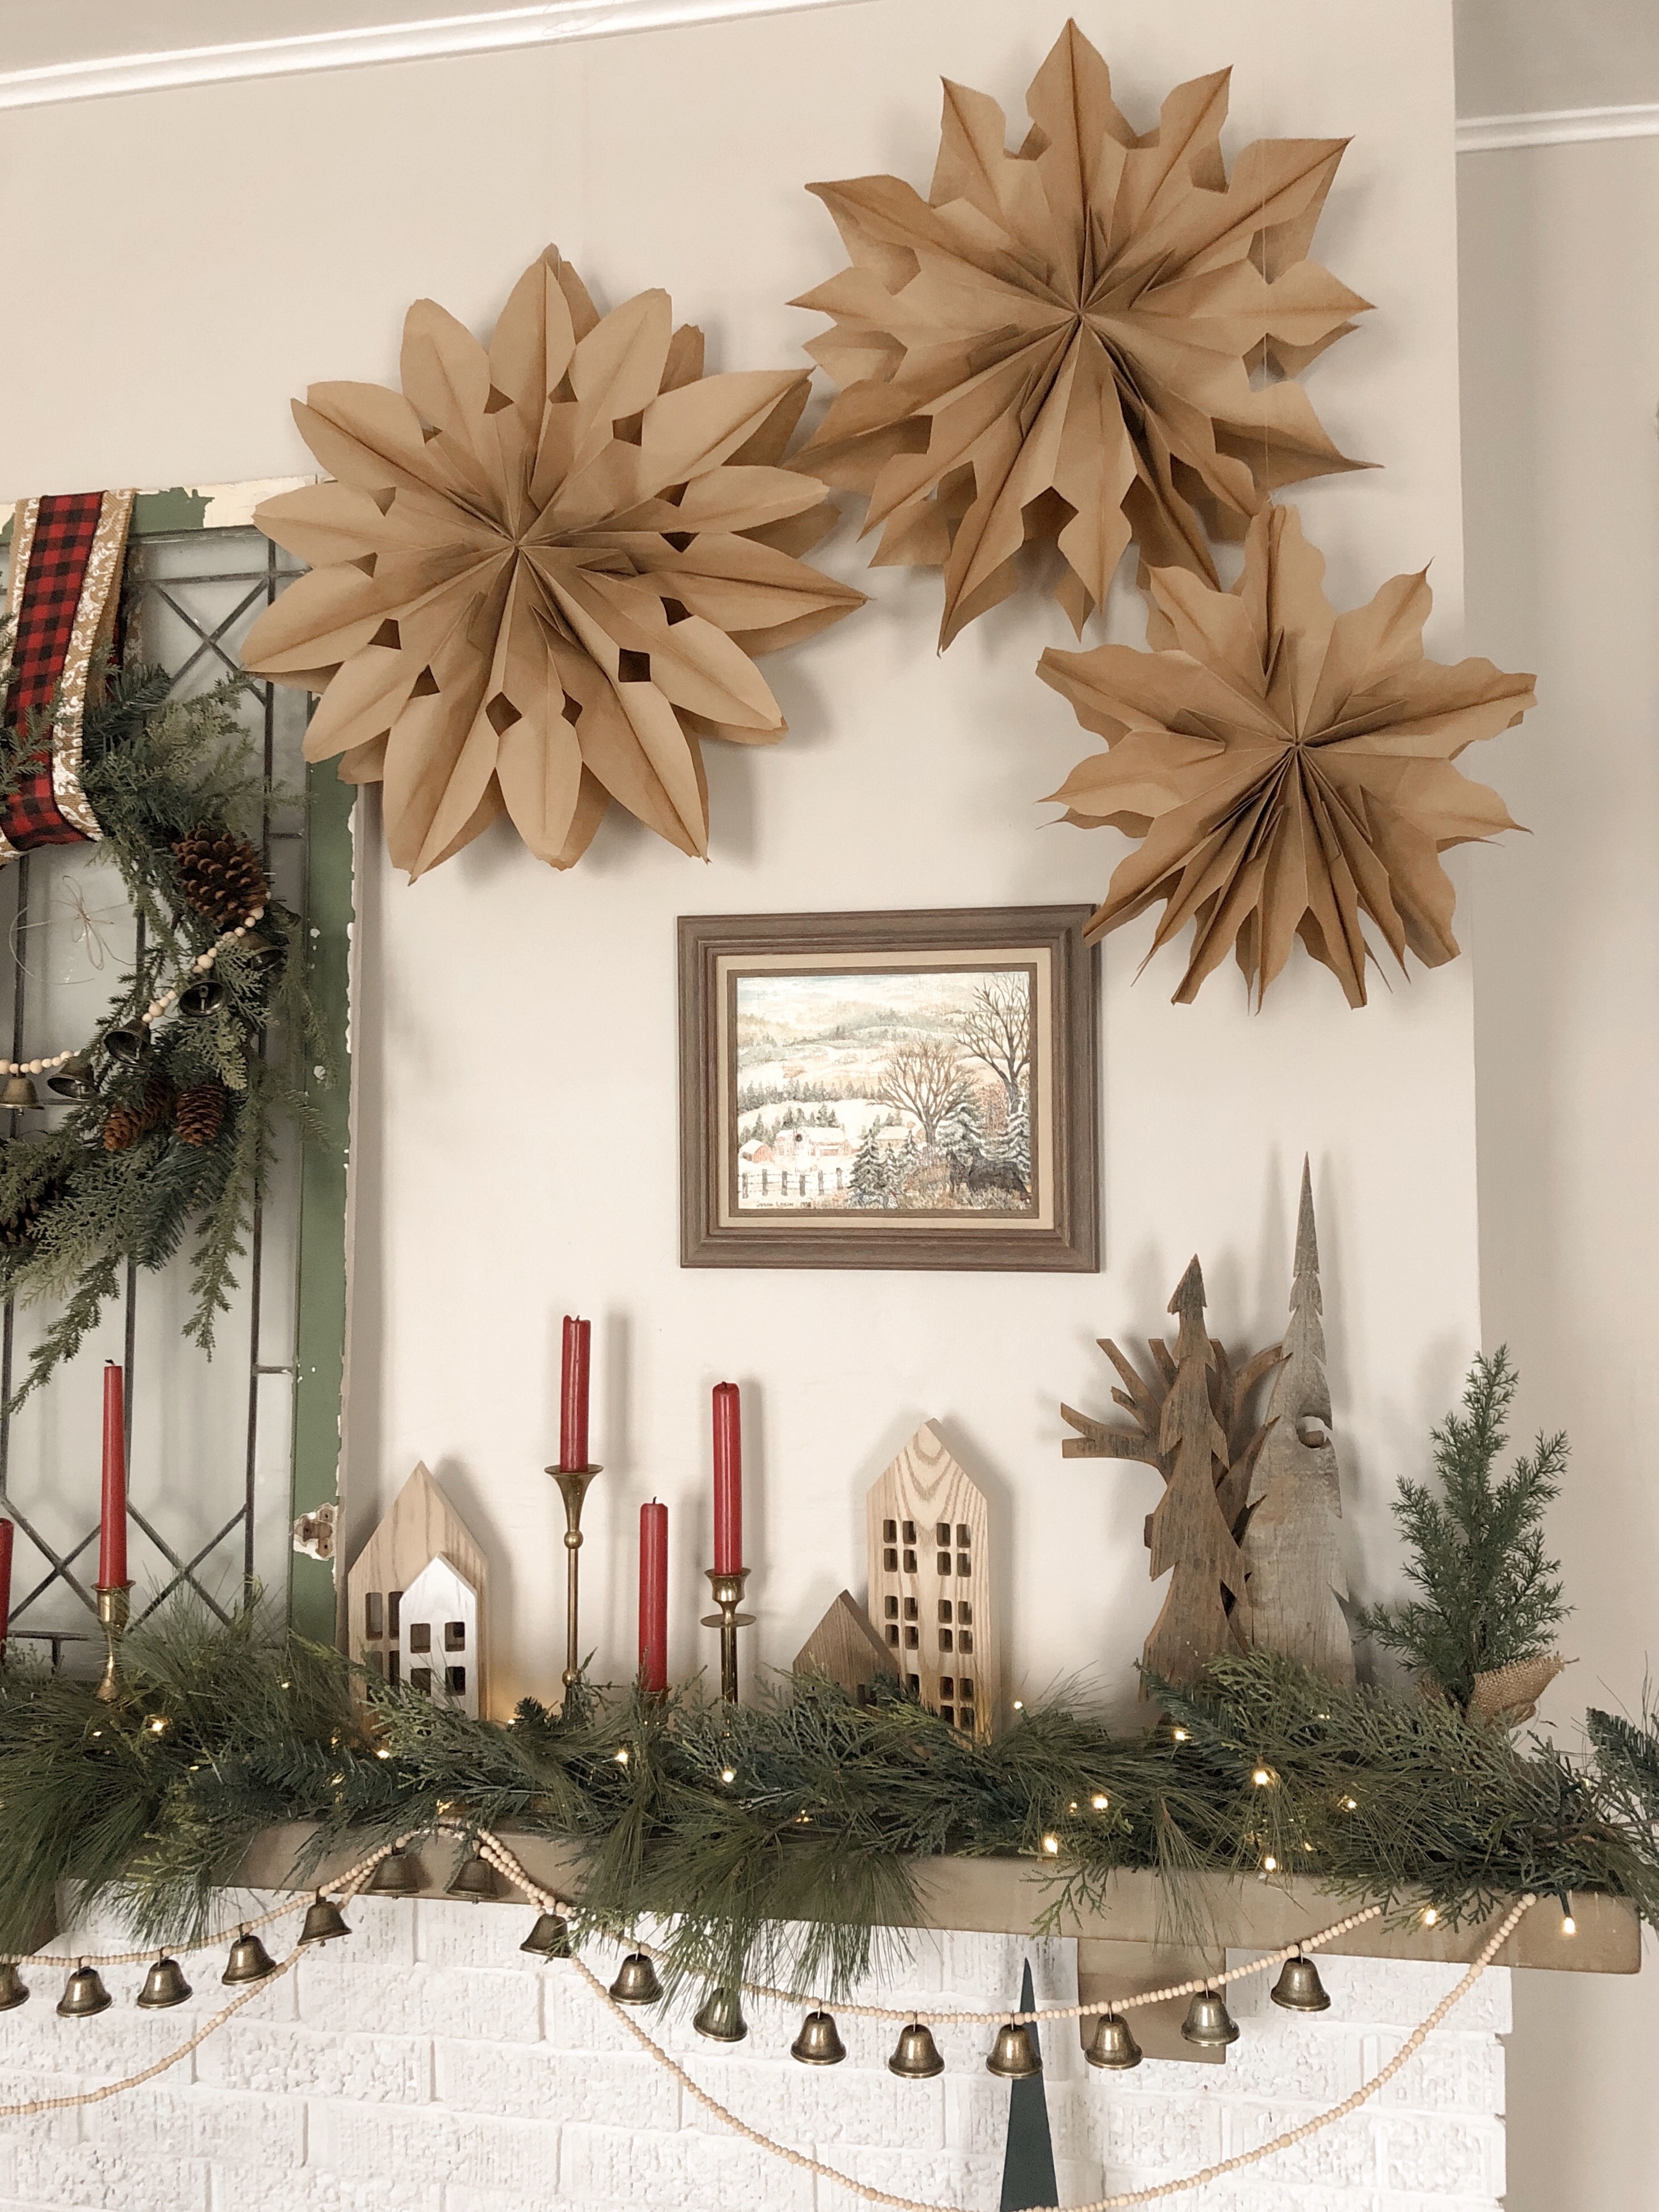
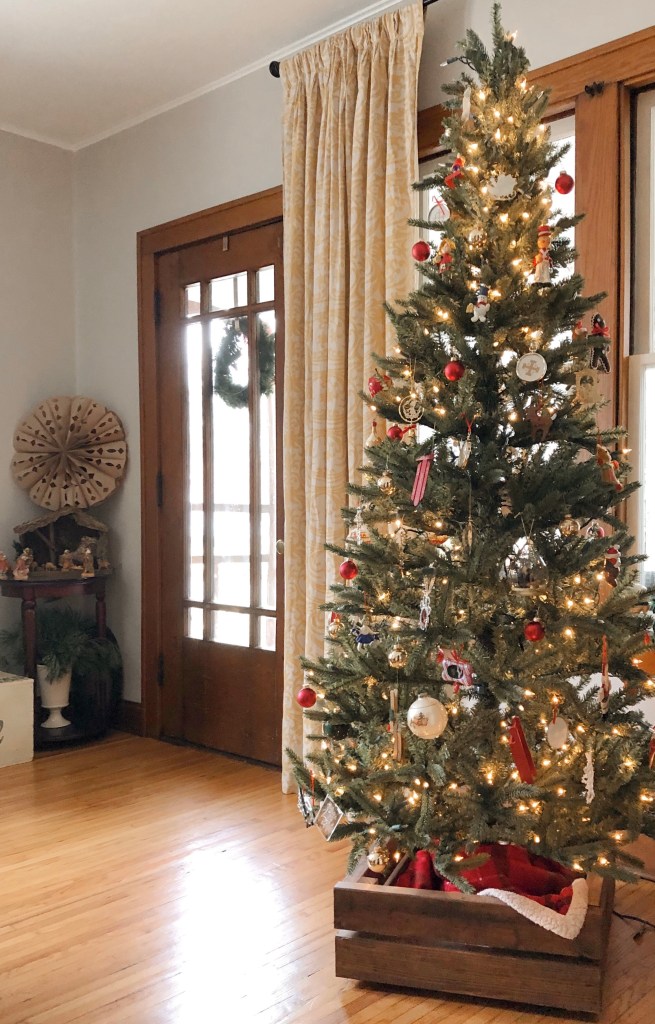
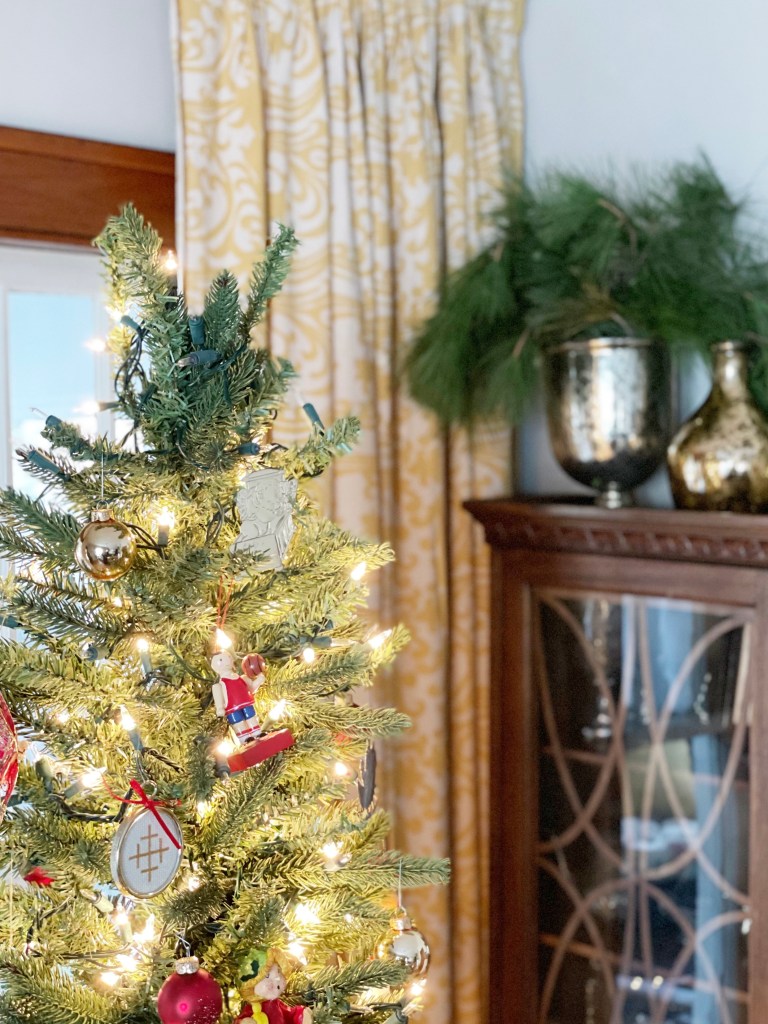
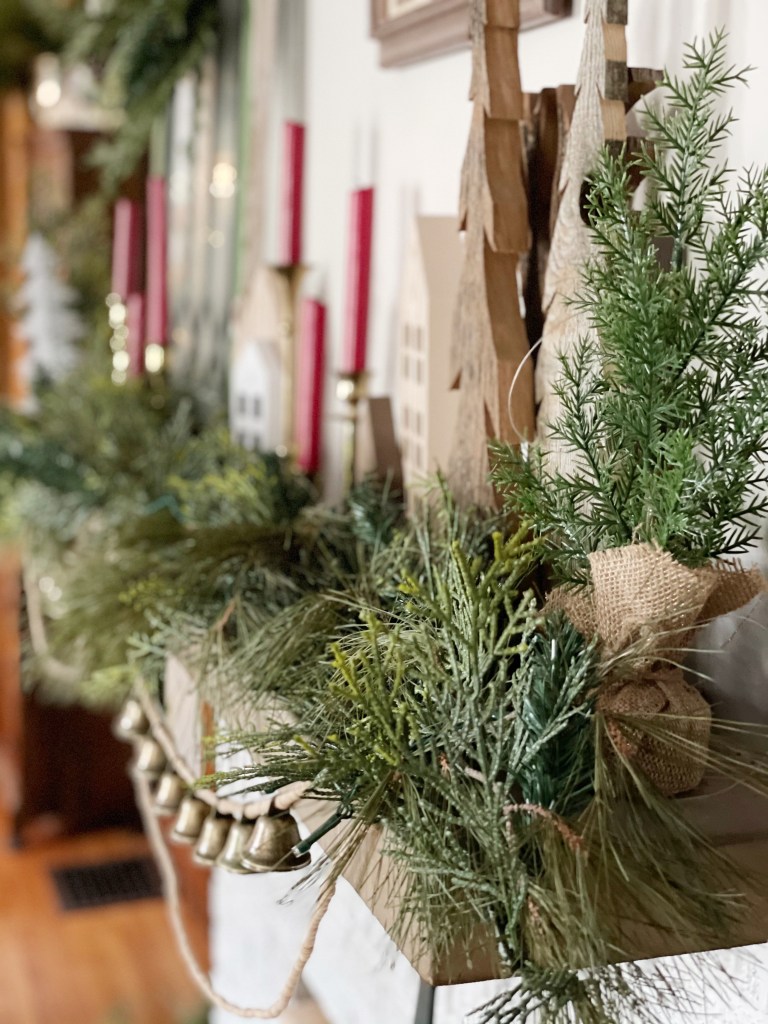
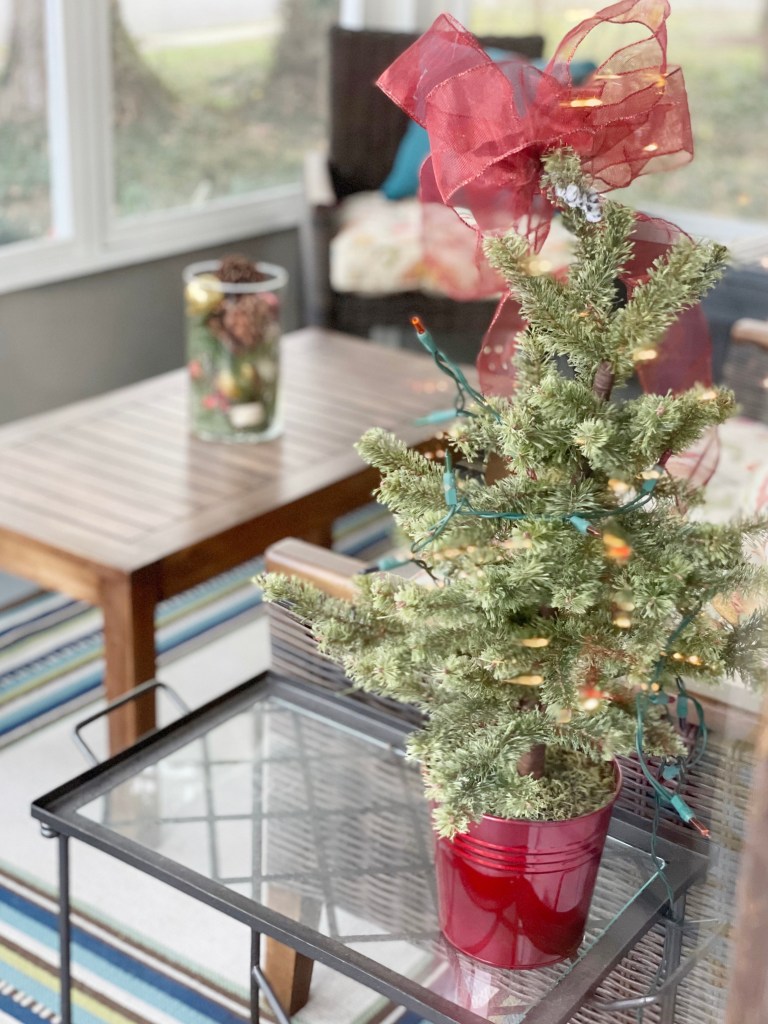
Since this room is decorated for the holidays, I thought I would do a full holiday home tour. Enjoy! See you in 2021!


You have done a fabulous job. I love it.
LikeLiked by 1 person
Thank you Barbara!
LikeLike