Another week has flown by. (Anyone else feeling the weird time warp that is quarantine/coronavirus/2020 extra hard right now??) It was a busy weekend here of DIY and paint, paint, paint.
If you haven’t yet checked out Part 1 of this master bedroom saga go do that now! If you follow me on Instagram you already have some idea of what I’ve been up to the last few days. If you missed it — go check out my Master Bedroom Highlights to get caught up.

All caught up? Ok…that was a bit of a dirty trick to tease you with the color block paint color, wasn’t it? I would have done that anyway to save it for the blog reveal, but the fact that I don’t love the color made a black and white filter a must.

Remember that I planned to tackle three projects in the bedroom to give it some more style:
- creating an accent wall behind the bed using wood trim
- using a color block to make a statement around the bench
- adding window treatments to the window
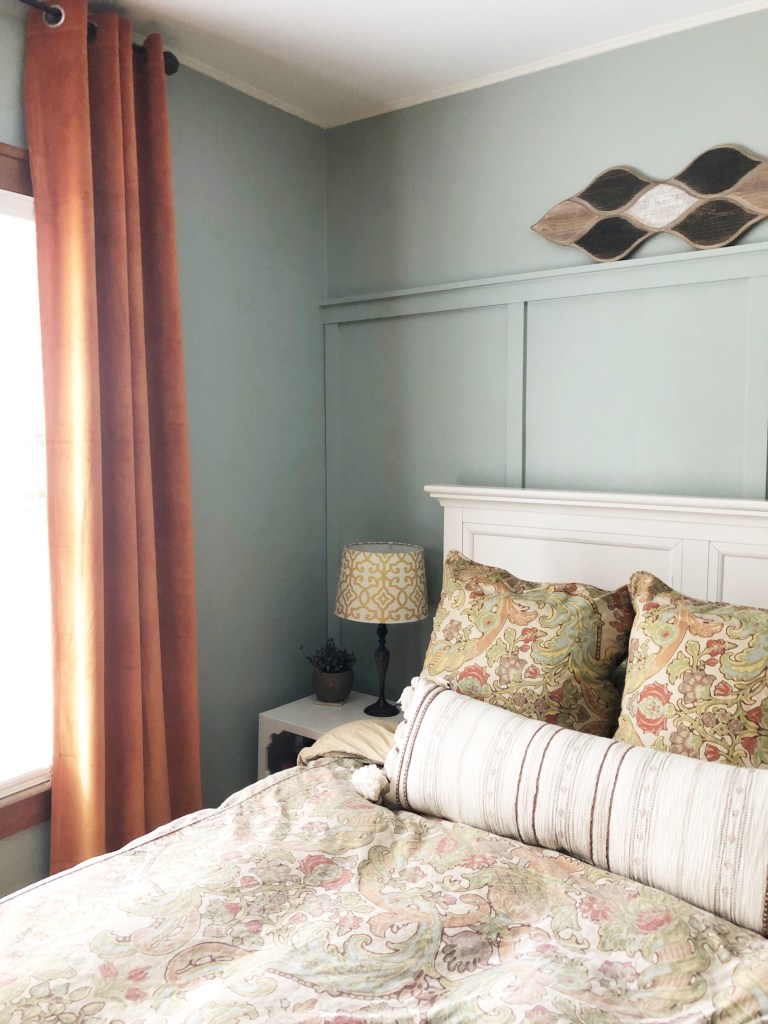
DIY Board and Batten Accent Wall
I started on Friday by asking my IG friends for an opinion. I was debating between doing picture frame molding on the bed wall or board and batten.

While 61% voted for picture frame molding…I ended up with board and batten for an important reason. Our bed isn’t centered on the wall because my husband’s nightstand is wider than mine, and there’s not enough room on the wall to center it. Because of this I wasn’t sure how to make picture frame molding work. I didn’t want to put it up based on our current furniture and make it asymmetrical. This furniture isn’t my favorite, and I don’t want to be tied to keeping it long-term.

I also really like the look of board and batten, and feel like it’s appropriate for our 1920’s Craftsman. Once I had graphed out the dimensions I laid out a potential plan using scrap lumber I had on hand.

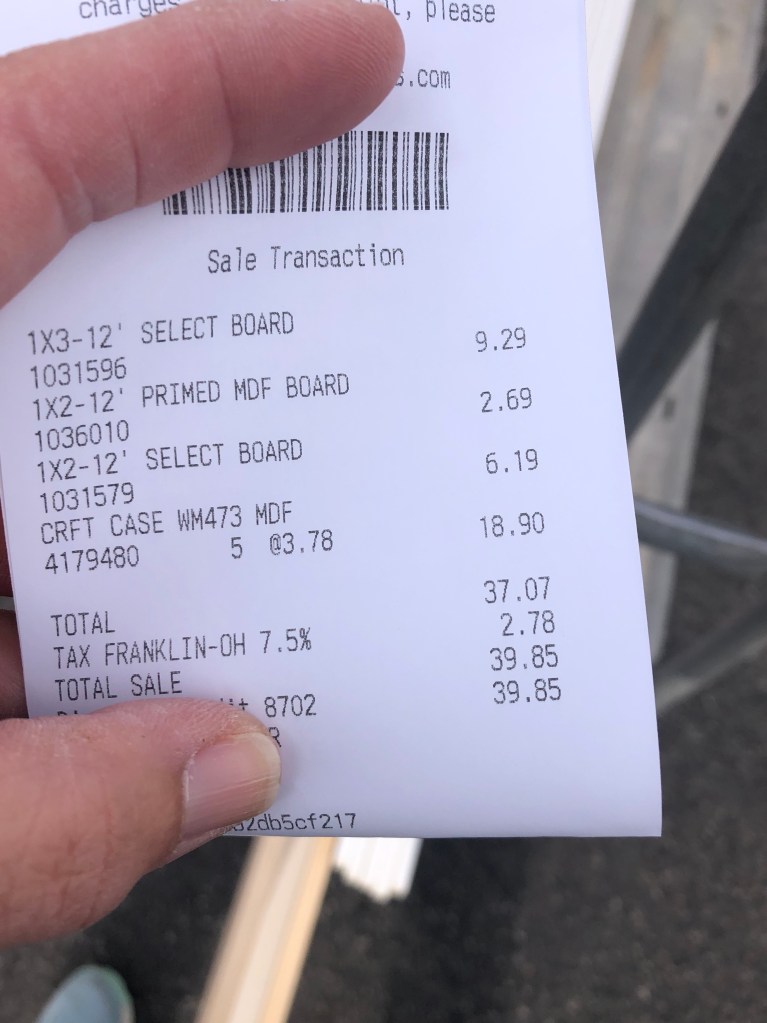
Then it was time to hit the store. I went to Menard’s because they have reasonably priced lumber in a variety of sizes (and an 11% rebate!). I knew I wanted to use mostly primed MDF to make the finishing process easier. I did end up buying two pieces of unfinished select pine for the top board and shelf because I wanted sharp corners and all of the MDF pieces have rounded edges. I could have run the MDF through my table saw to cut off the rounded edges, but I decided to quickly prime the pine instead.
In addition to the lumber I used the following supplies (which I already had on hand):
Nail gun and 2″ nails
Miter saw
Level
Caulk
Wood filler
Sanding block
Primer/Paint
It took me most of Saturday (I did sleep in and enjoyed dinner/Netflix night with the hubs) to create the plan, shop and install all of the wood pieces. I also filled the nail holes and caulked the seams.

I chose the height of the top board based on the height of the door casing for Chad’s closet. The trim for his closet door isn’t actually finished (eek), but there was one piece of door casing up on the left side of the door. I’m actually glad that I put off that task because I was able to extend the top door casing and miter it on the corner to meet the top of the board and batten.

I did add a small board above the original baseboard to have a clean surface for the vertical pieces to sit on top of. I used a laser level to ensure the top board was level on the wall. There’s actually a 1″ difference in height (!) from left to right because the floor isn’t level?? Wow. Gotta love an old house. This meant that I couldn’t do quick cut of all of the vertical pieces because they were all different heights.


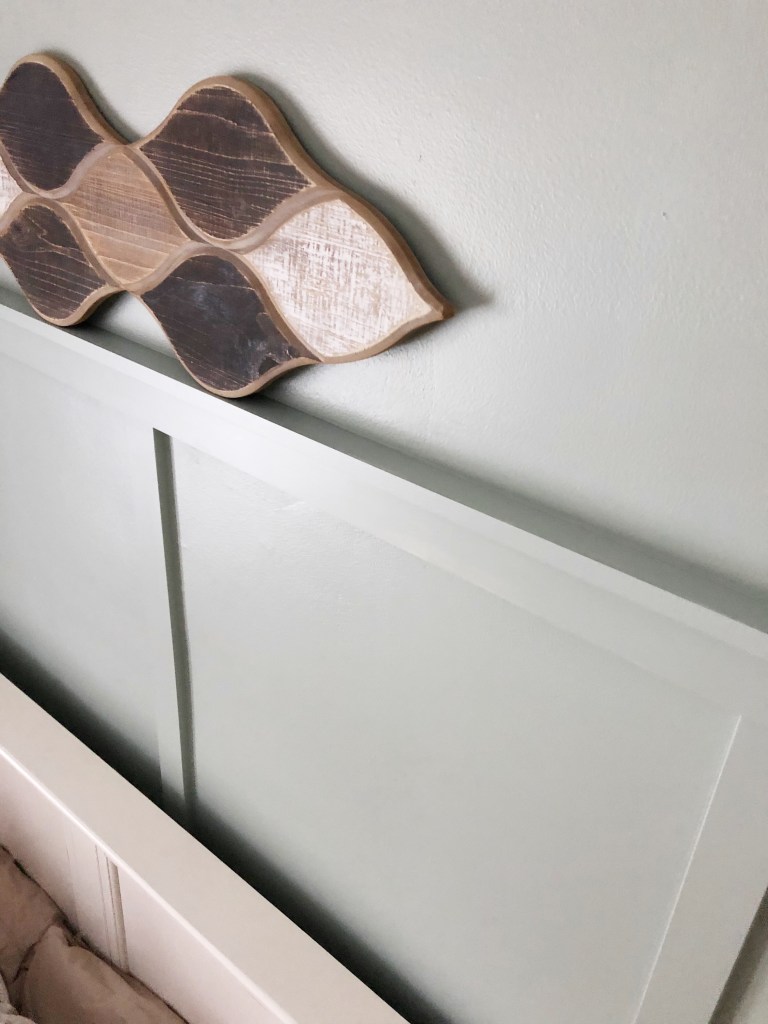
At the end of the day I really struggled with the decision to paint the trim the same color as the wall, but I’m glad that I did. Our furniture is all a creamy white, and I didn’t want it to blend in to the wall.
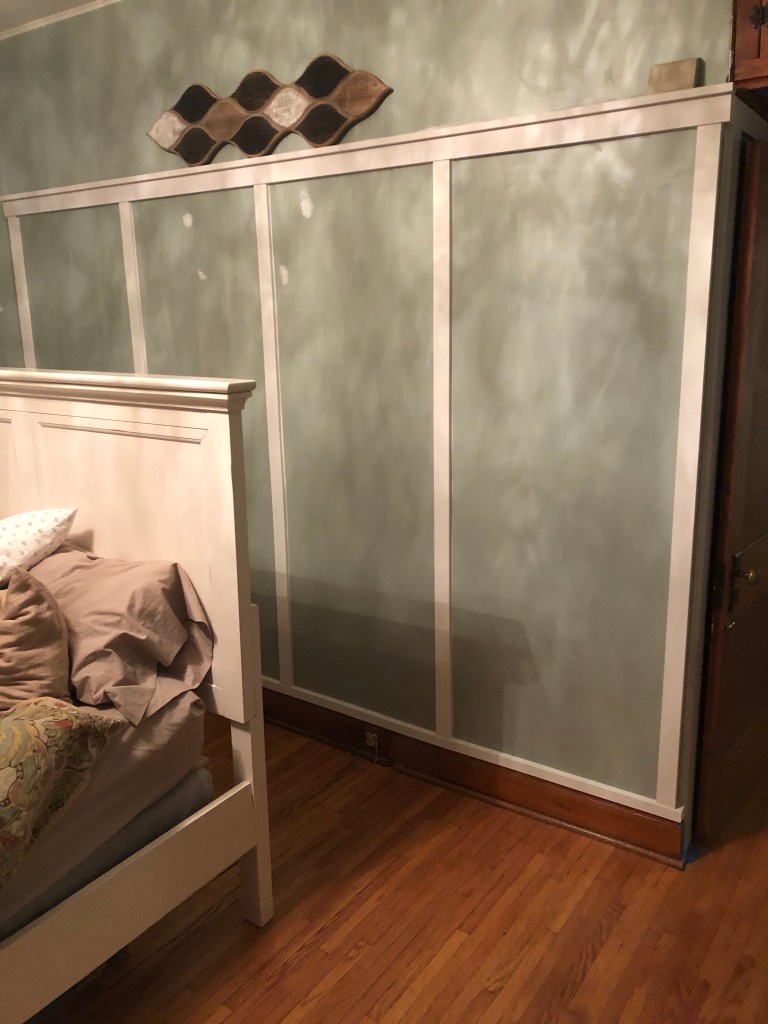
Sunday it was time to sand everything smooth, make sure there were no nail holes visible and paint. I painted everything SW Oyster Bay, including the closet trim. I wanted it to blend into the wall and not stand out.

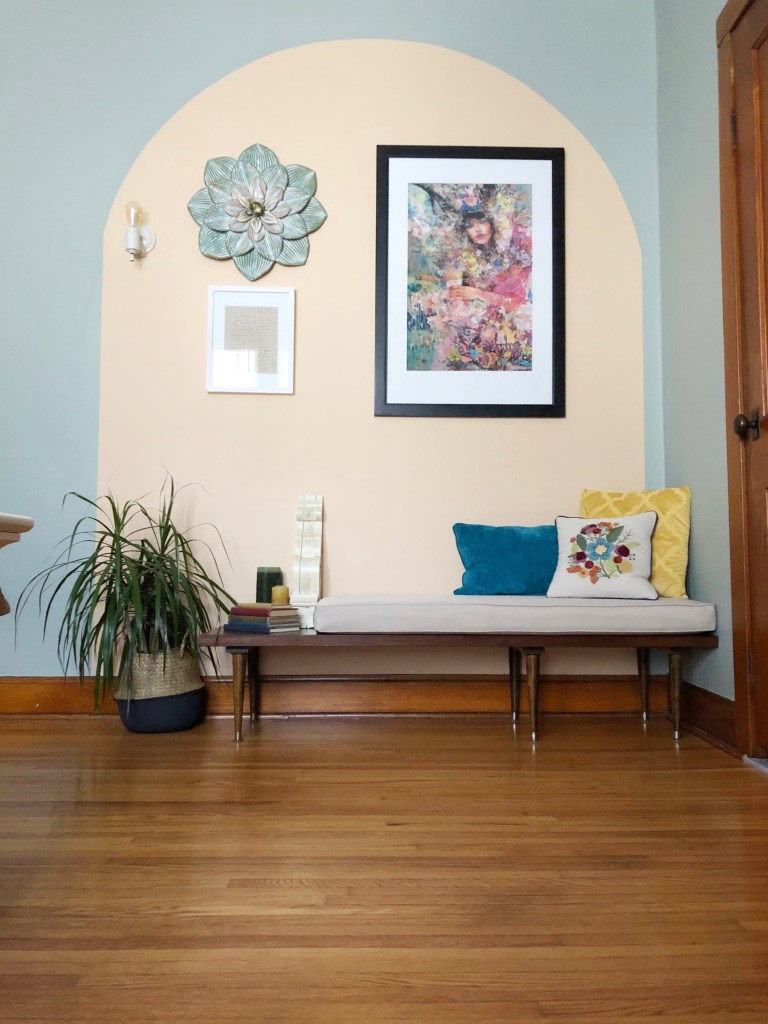
Color Block
Also on Sunday I tackled my color block idea. I was hoping to create an area around the bench that would add some impact and tie together everything in that corner. I used a pencil and string to create a half circle on the wall that would extend slightly past everything hanging in that area. Then used a level to draw a straight line down each side to the baseboard.
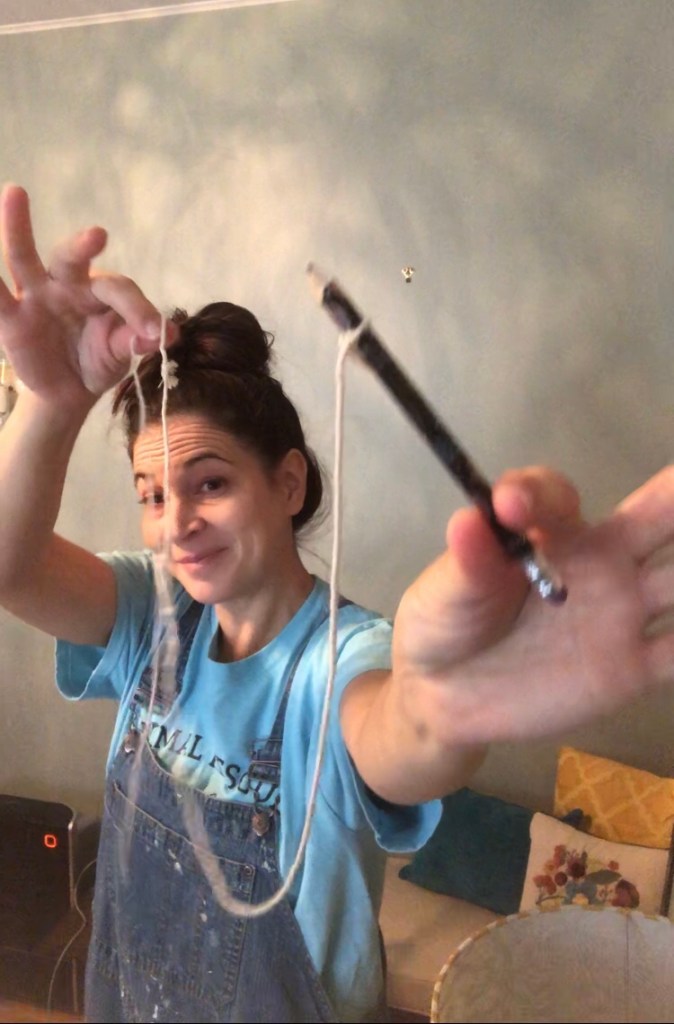

Then I taped it off, using little pieces of tape to cover the curved portions. The trick to getting a clean line is to add caulk to the inside edge of the tape. I just wipe it on with my finger all along the edge. You want it to seal the tape, but not create any visible texture or ridge on the wall.

I knew I wanted to use a lighter color than the walls, but wasn’t sure what. Here’s where I made a miss-step. I should have spent more time considering colors and taking samples home. I literally ran into Lowe’s on Sunday with my Oyster Bay covered paint brush in hand, grabbed a few options, sent a pic to a friend and went with her first choice. In less than ten minutes. Lesson learned.

I went with Sonya Orange from Sherwin Williams HGTV Home collection.

So I don’t love it. But I’m going to live with it for awhile before I repaint. Luckily it was a quick project that only cost $13 so not a big loss. Maybe I’ll choose a new color. Maybe I’ll just cover it up with Oyster Bay and forget it ever happened. What do you think?

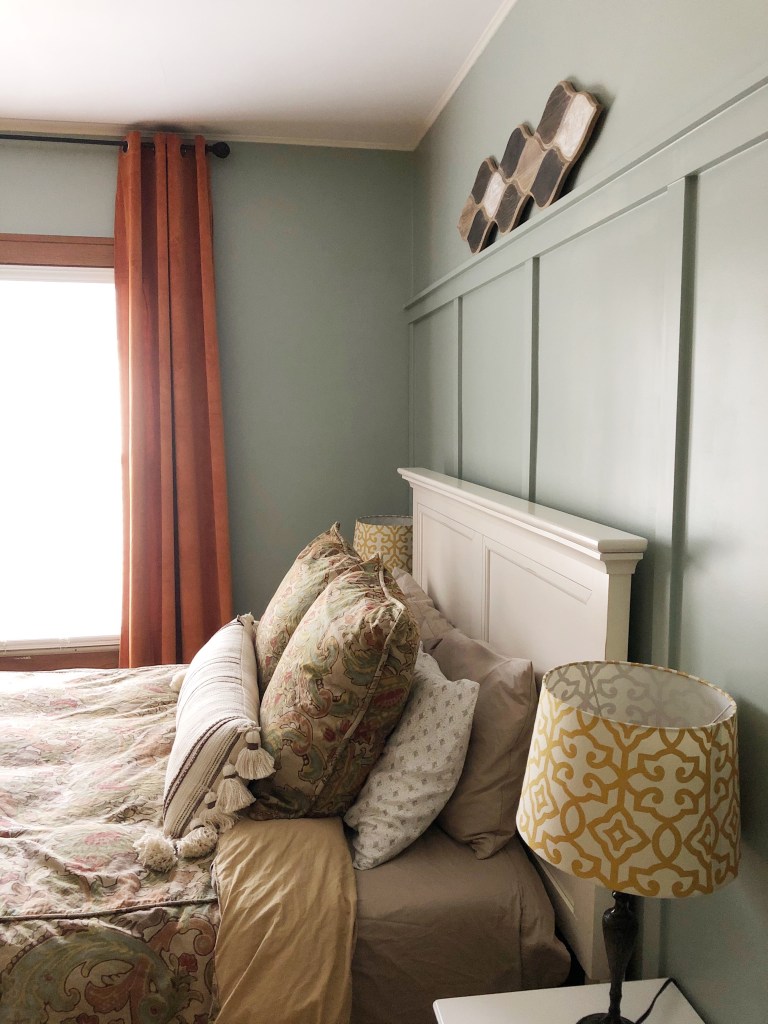
Window Treatments
Many of you suggested floor length curtains for our only window. I was hesitant about them because I worry that floor-sweeping curtains end up being dog hair collectors, but I knew it was the right design choice. We’ll see if I end up hating myself for it.
Call it kismet, but copycatchic’s daily mail on Friday showed a pair of West Elm curtains and an Amazon dupe. It felt like a sign so I ordered three pairs! A beautiful peacock blue, a rusty orange and the mustard.


The blue didn’t look good with my wall color, and mustard won’t arrive until this Thursday. I threw up the orange and am living with it this week. I’m sure I’ll ask you to help me pick between this and the mustard on Thursday in my IG stories. Or maybe I need a different curtain all together? Decisions are hard.

By the way….shout out to my husband for hanging the curtain rod for me. I was busy painting and he volunteered to take that off my to-do list. Of course we thought it would be quick and easy, but things in an old house rarely are. A trip to the hardware store, two broken screws, a snapped drill bit and lots of cursing later (I did my entire color block in the time it took) we have a sturdy curtain rod in our plaster walls!


So my master bedroom has a bit more style now. Still on the fence on the last two pieces of this puzzle, but in LOVE with my board and batten wall. Would love to hear your thoughts!
