You guys know I love old homes. The character, the history and all the things that make them unique. But I have to say…having a brand new bathroom AND walk-through closet in an old house is pretty frickin’ sweet. So let me walk you through the first NEW rooms in my room reveals.
As I said in the addition blog post, we used an architect to help us design the rooms that we added on to the back of the house. There was a bit of a struggle with how to make all of the rooms on the west side (master closet and bath, and mudroom) large enough, without ending up with a ginormous family room on the east side. We also had to keep things fairly narrow so that we could accommodate the two-car attached garage and driveway. Our lot is very deep, but not super wide so that was a bit of a challenge.

What we ended up with is a walk-through closet that leads from the master bedroom (check out the details on that room here) into the master bathroom. The toilet is as far from the bed as you could get in the configuration (keep it sexy, people).
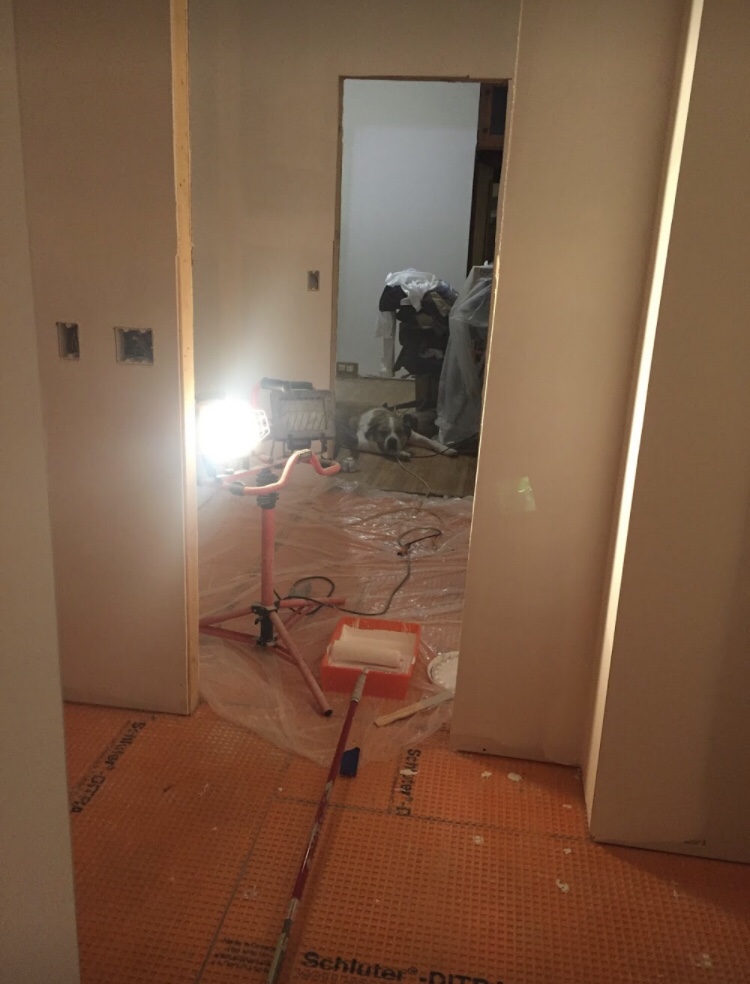
There’s not much to be said for the construction process (other than it’s slooooowwwww), but here are some pics of that journey.

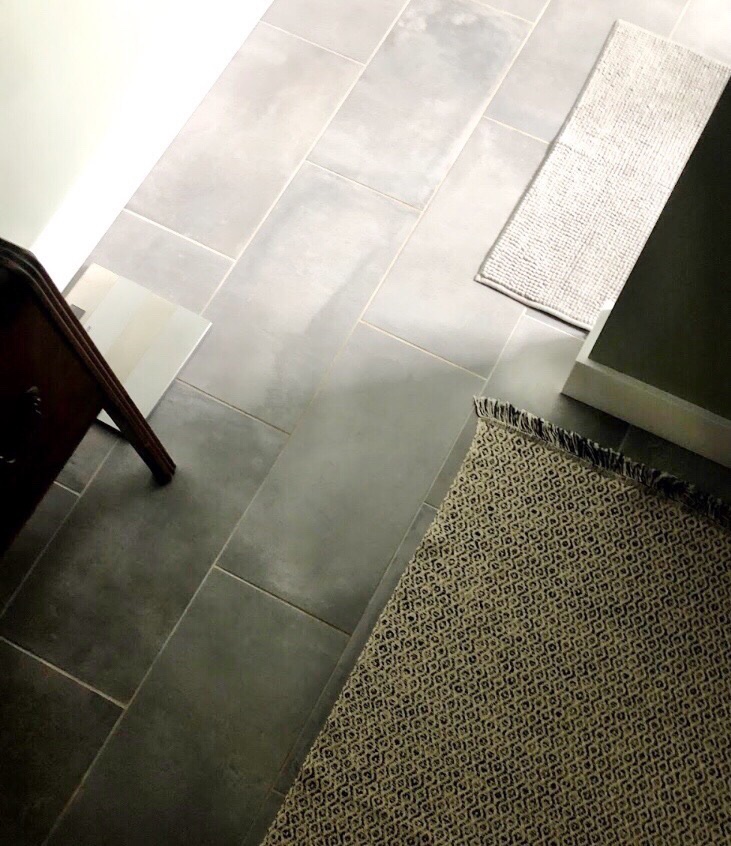
We chose a 12 x 24 porcelain tile in grey for the floors in both the closet and bathroom.

My husband laid all of the tiles on the floor and in the shower. God bless him. This was our first experience with tiling a shower floor, and that’s a whole other level of tricky. We used a Tile-Redi shower pan in order to get the slope and curbing correct. We were not prepared to build a curb ourselves, that’s for sure. The shower floor was done in 2″ marble hex tiles with a marble curb. He used glass tiles around the window and around the shower niche with a marble slab in the back. We used a large 6″ x 17.5″ white subway tile on the walls, and a Schluter system for installation.


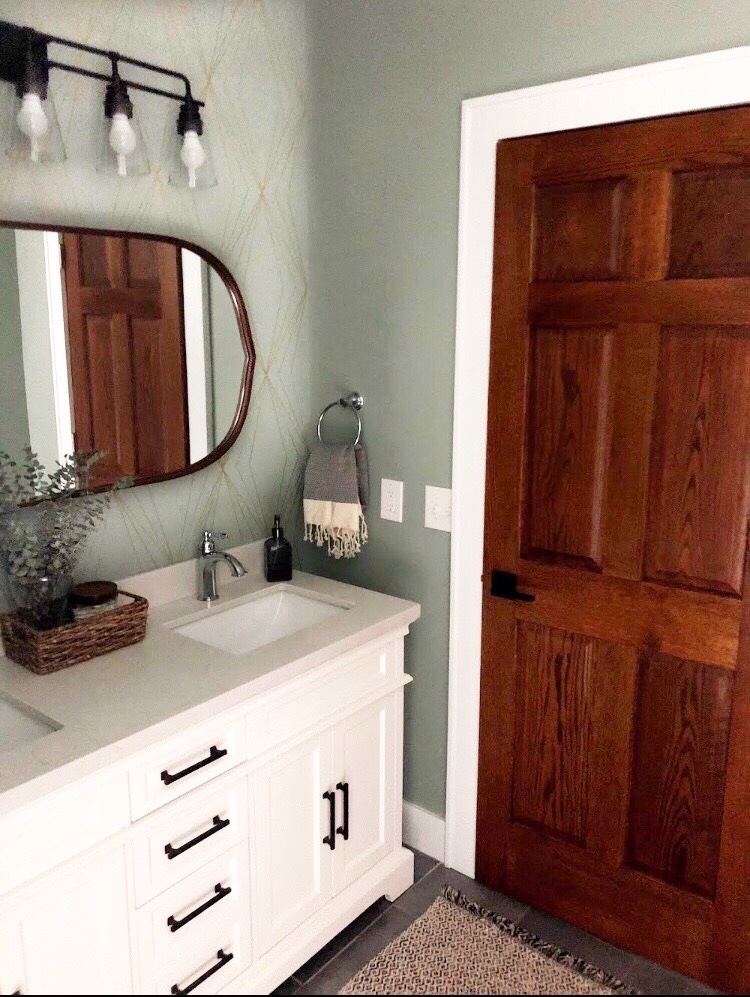
I chose a creamy white vanity with a quartz top from Costco. I knew I wanted something that felt like furniture with a top that was easy to care for. It came with both oil-rubbed bronze and chrome hardware and I chose the bronze. I like to mix metals and knew we were using chrome in the shower, so I chose chrome for the faucets.


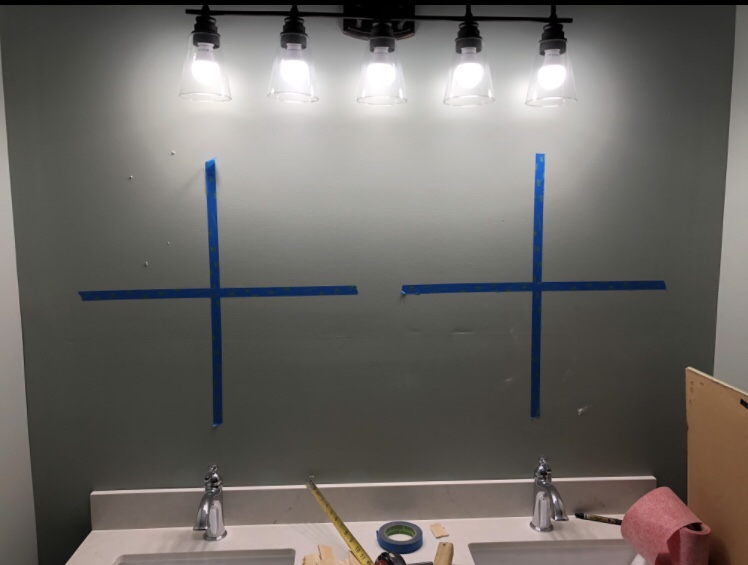
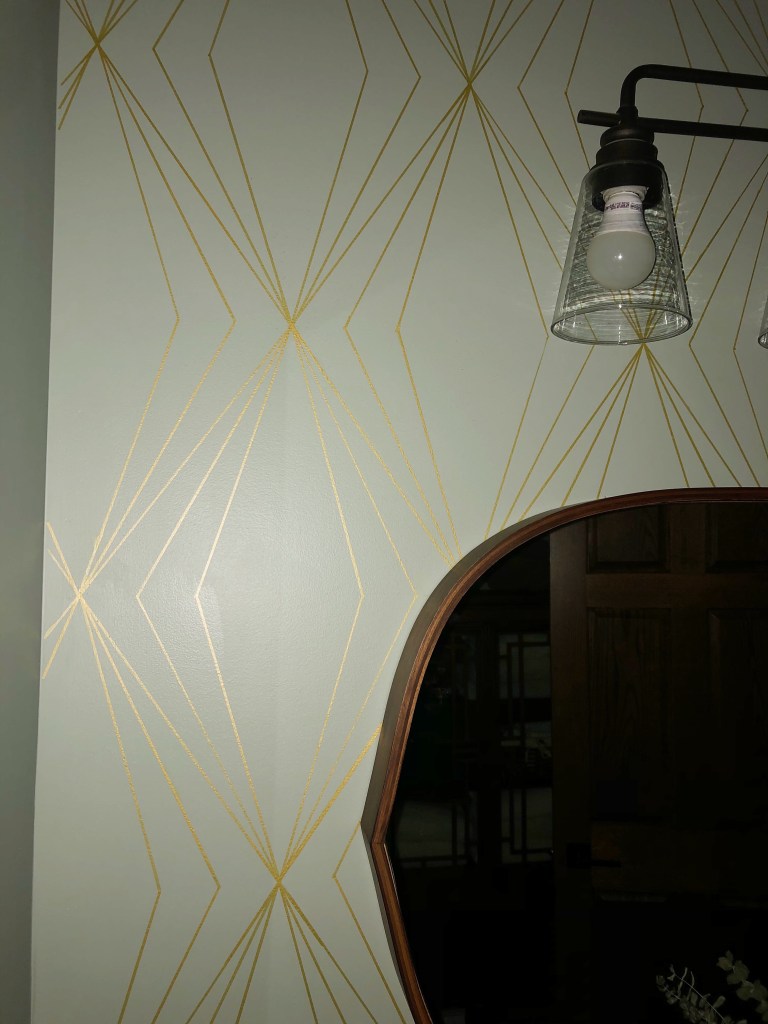
There’s only one small window tucked back in the shower, so it tends to be dark (which is why all my photos of the bathroom are just the worst). So I picked a big, BRIGHT 5-light fixture in oil rubbed bronze.

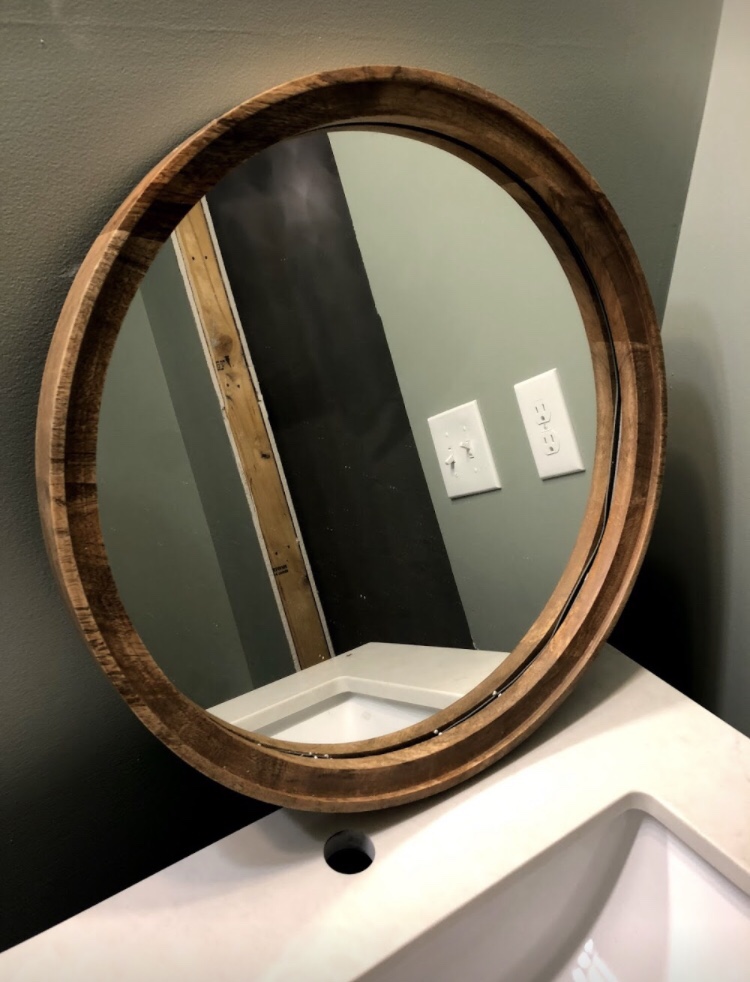
The mirror probably gave me the most trouble. Originally I had my heart set on two round mirrors, but after some trial and error I gave up on that idea. Instead we went with a single stunner from Crate and Barrel. The Penarth Walnut Oval Wall Mirror is a bit of a splurge, but I love it and its warm wood tones.

Originally the architect had designed a linen cabinet for the corner of the bathroom. I felt like this room was lacking a sense of history, and chose instead to bring in a piece of antique furniture to serve as our linen closet. I keep towels in the cabinet and sheets in the drawer and it’s perfect. Of course, I bought it secondhand off of Facebook marketplace. When I went to pick it up it was in their garage. I didn’t realize it smelled terribly of smoke until it was in my car and I was driving home. If you want some tips for getting gross smoke smell out of old furniture, I’m your girl!

These two rooms got painted — you guessed it — Sherwin Williams Oyster Bay. As I’ve said before, it’s my favorite color. A somewhat moody bluish-green that feels warm and cozy. Now for the really fun part, and the best $4 I’ve ever spent in a design. On the vanity wall I chose to do a Sharpie paint marker (yes, a Sharpie marker) faux wallpaper. I’m scared of real wallpaper and I swore I would never stencil again so…. anyway, a Pinterest search led me to Vintage Revivals and a design that I thought I could handle. You can check out the details here. It was quick, relatively painless and SO SO inexpensive. 10/10 recommend this upgrade!

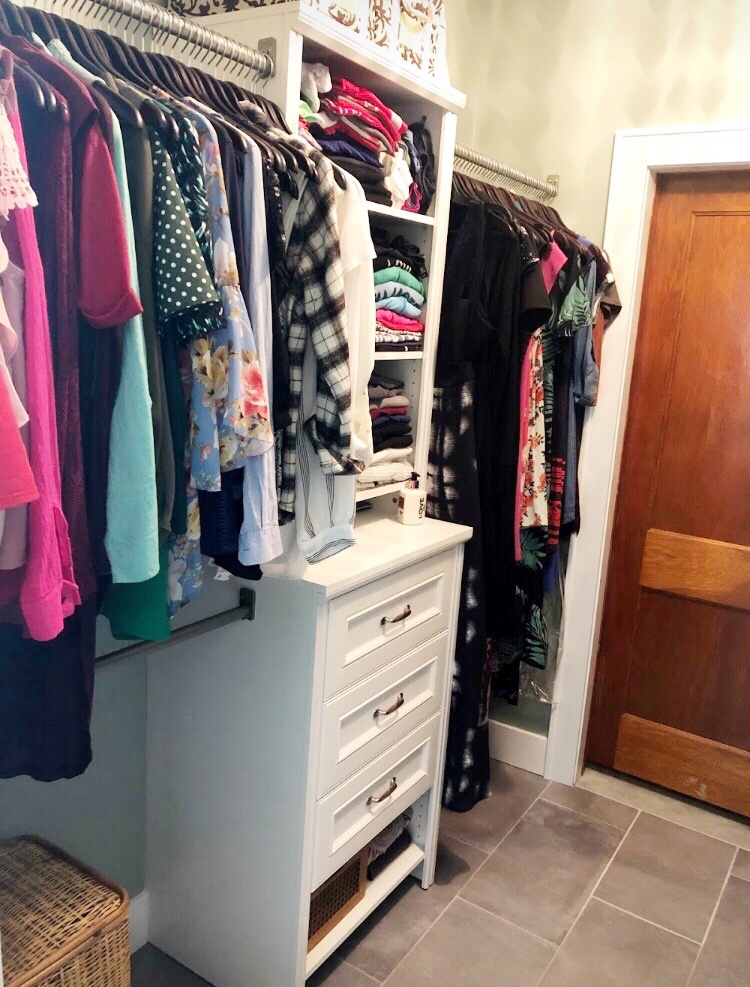
I guess you could say I went “cheap” in the closet. I purchased two different Closetmaid systems from Facebook marketplace (seeing a trend?) that had been purchased at a FastTrack auction, were still in the boxes and a really great price. I could have been sad that one was white and the other a “cherry” wood, but I decided to make the best of it and call it a “his and hers” closet (even thought it’s mine all mine). There’s so much space in here that I gave up my dresser and moved EVERYTHING I own in. And there’s room to spare! Maybe someday I’ll upgrade to a fancier, custom closet system, but this is working surprisingly well for me.


I installed and painted all of the trim in these rooms along with some help from my dad. We used the same white trim that we chose for the rest of the addition, instead of trying to match the original trim. I did opt for a stained wood bathroom door instead of white because we used an original wood door for the closet. I thought it best to keep the look continuous. This was a relatively inexpensive door from Menard’s, and I finished it with a Honey stain from Minwax.


And that’s it! It’s the best bathroom and closet that we have ever had — and this is our sixth house. Until next week….


(Closets are not pretty rooms to shoot).

One thought on “A Brand New Space: Master Bath and Closet”